

Many of you know by now that I while on my four park birthday outing, I made a split second decision at the end of the night which resulted in me purchasing the ginormous LEGO Disney Castle. Coming in at 4080 pieces, this was easily the largest LEGO project I’d ever built. It was far more expensive than I’d care to admit, but as I built it, I found such joy in the little details and intricacies put into the project to make a Disnerd like me smile the whole way through. Nearly 11 hours and several days after purchasing it, I finally sat the final pieces on top of the last tower, and luckily, I took photos along the way, so come along and build a castle with me!

The first thing to know is that this is a MASSIVE undertaking. As such, the instructional booklet is ginormous! However it’s also very understandable. As you go, you’ll open bags in numbered order. As soon as you complete a bag, you’ll move onto the next, and the book is always there to tell you when it’s time for the next bundle of bags. Keep in mind that BAG 1 might actually be several bags with different sizes of LEGOs. I strongly recommend opening them separately as it can be a task to find small pieces if you just through all of them into a box together.

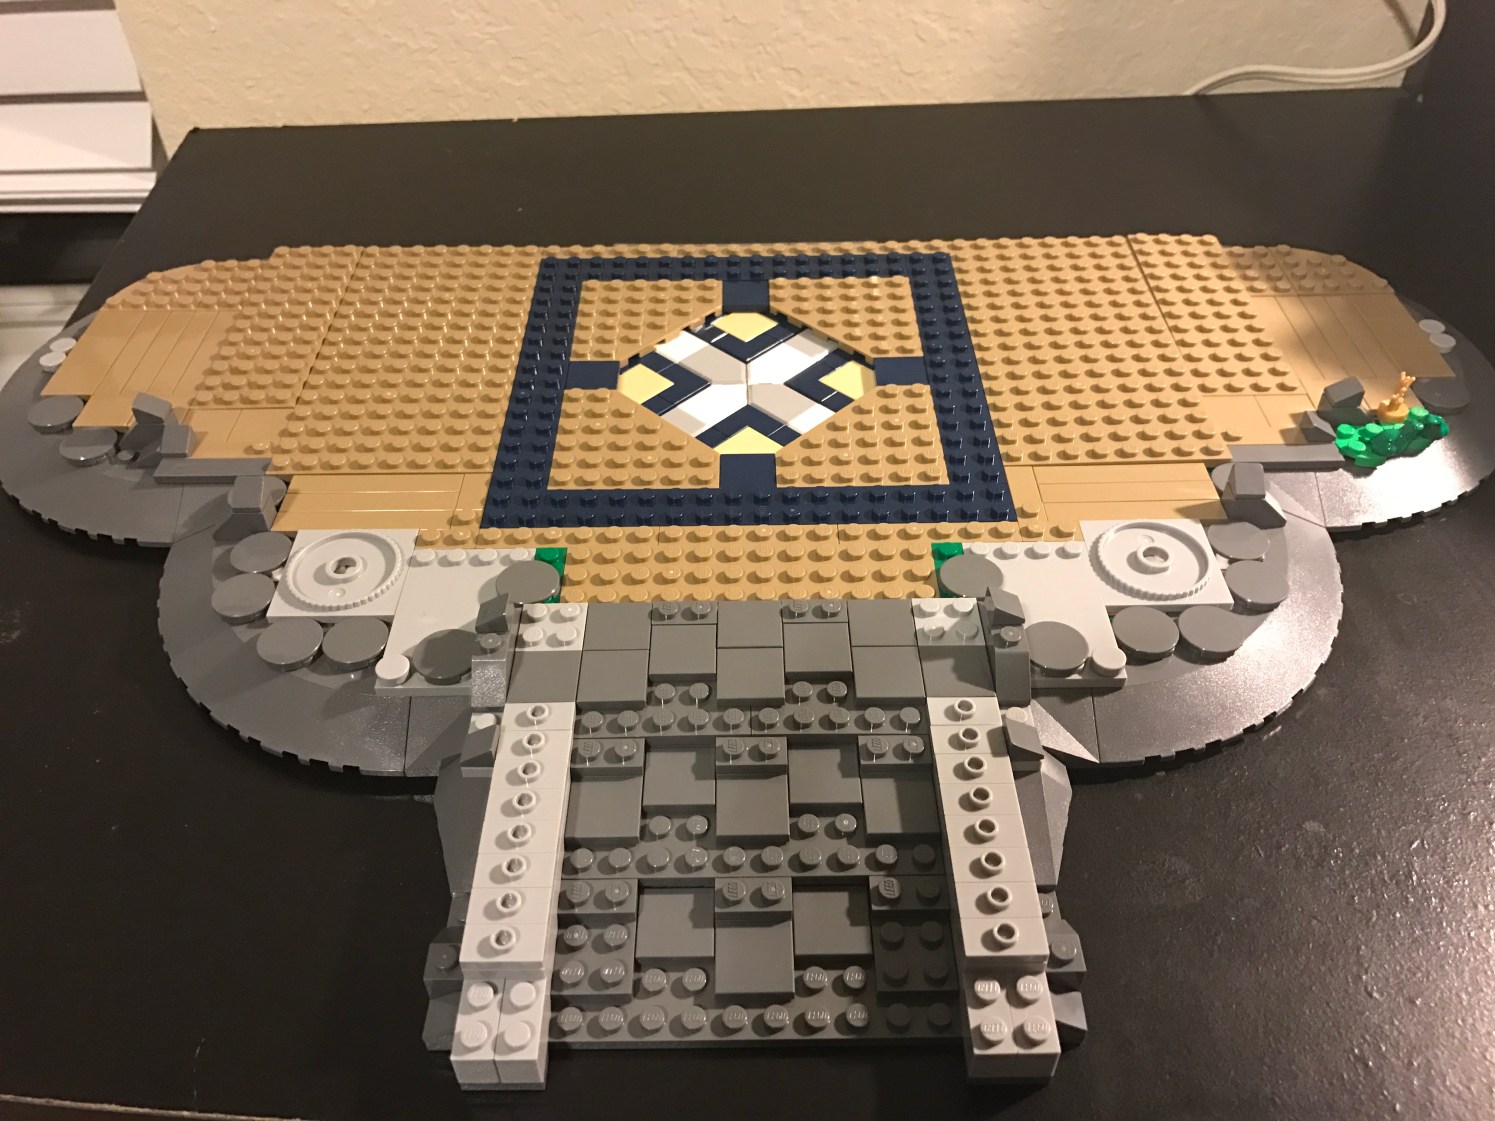
You’ll start off with the base of the castle. It may look simple, but this alone will take several hours to complete. It’s worth it though as it will give you a strong foundation for the castle you’re about to build atop it. Also, if you look to the lower right of the photo, you can just make out the Princess and the Frog along with her crown.
Bag two opens with our very first character, one M. Mouse himself. And look at how dapper he’s looking!

From here, you’ll start building the bones of the castle, which will give you the ability to build rooms around them. It’s a good thing that we built these first as things start to get pretty tight in the little rooms later on.
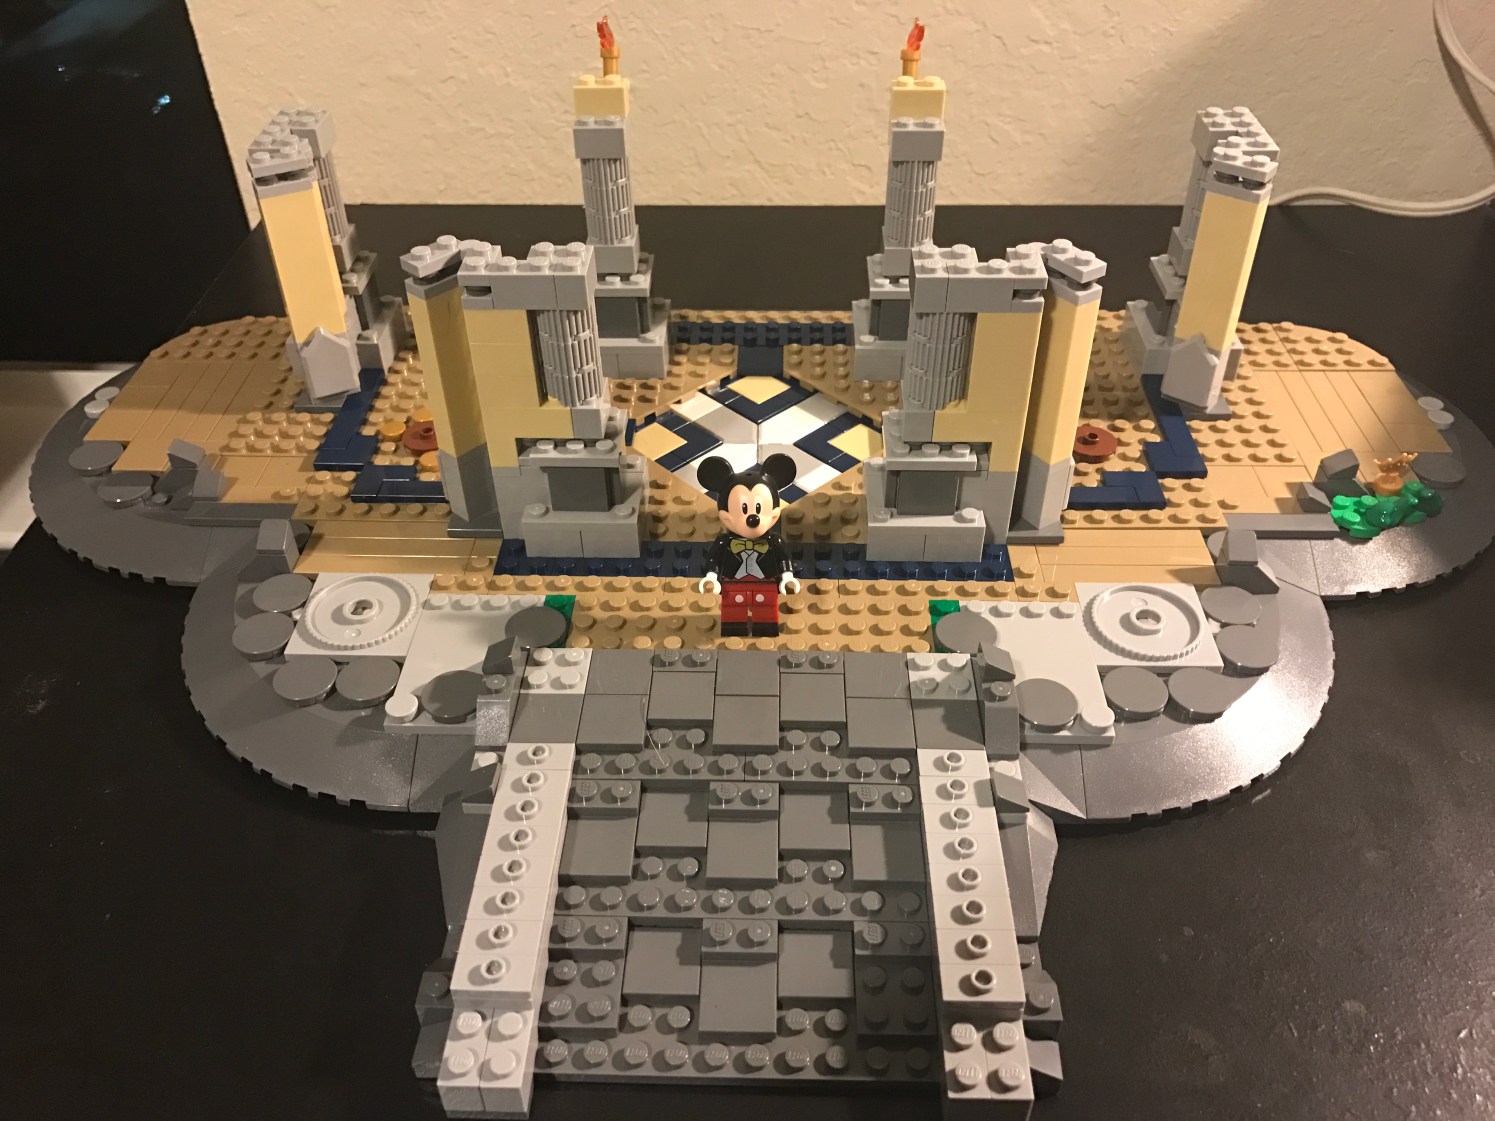
As the forward facing of the castle came together, Mickey couldn’t help but peak out at us from his new home.
Peek-a-boo!

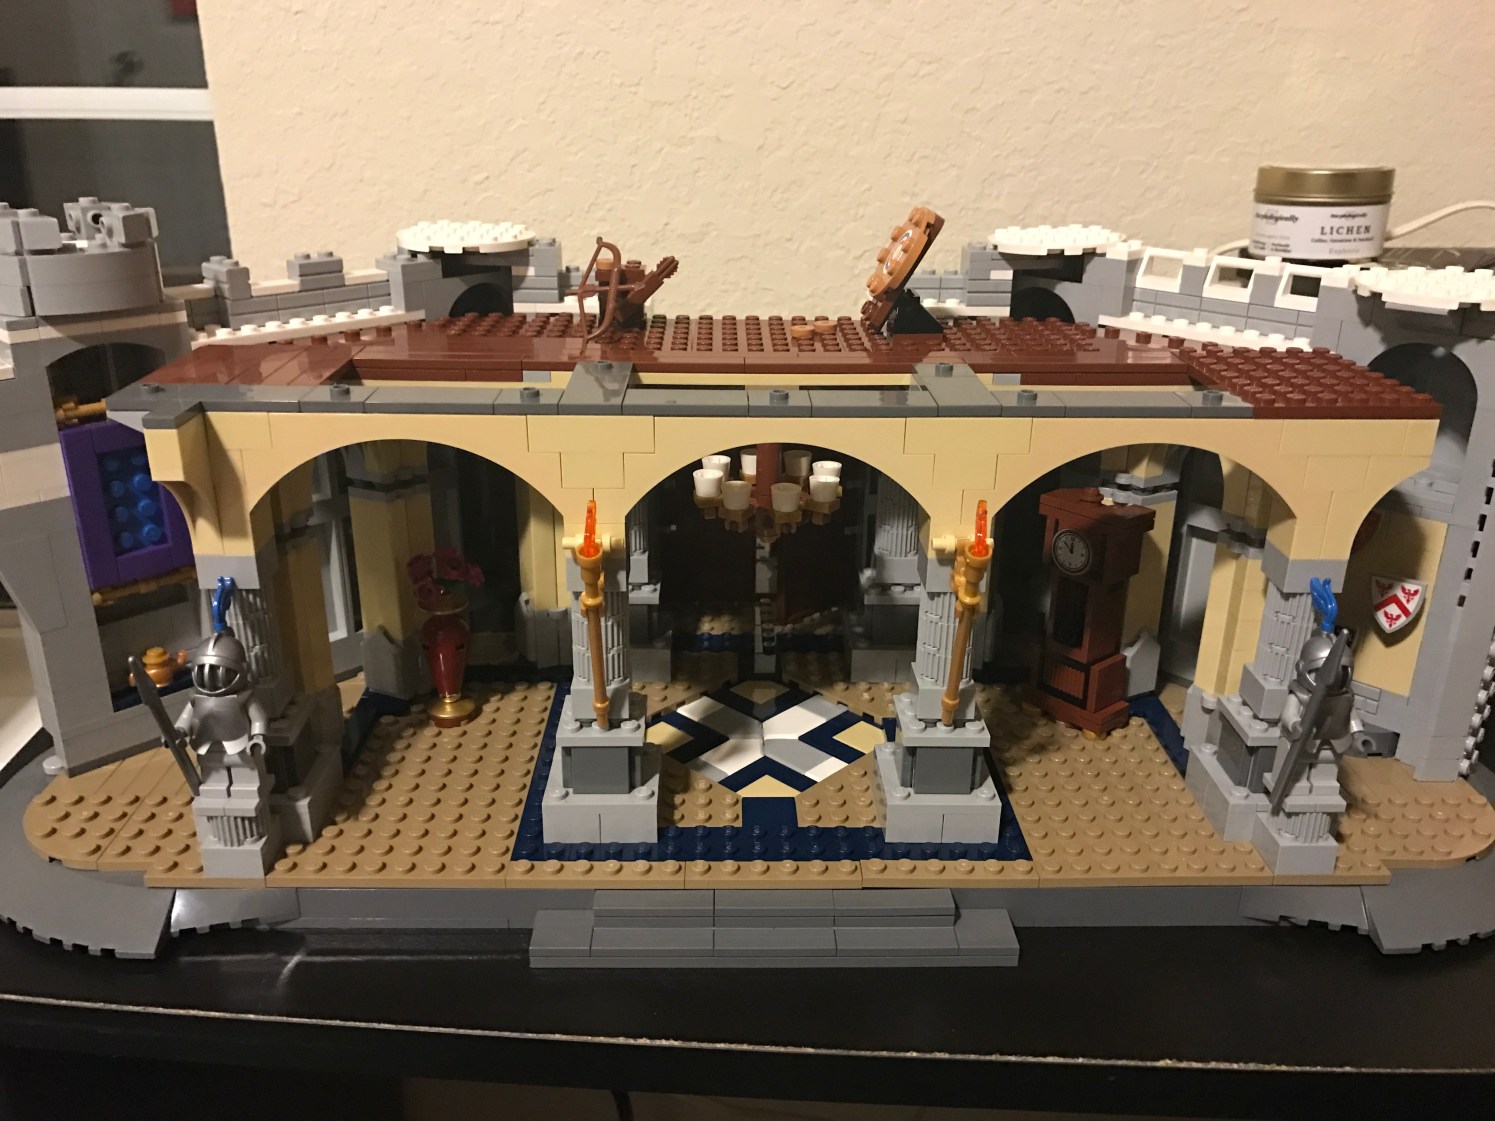
Round back, the detail work gets started with a lovely chandelier to greet guests as they enter the first floor.

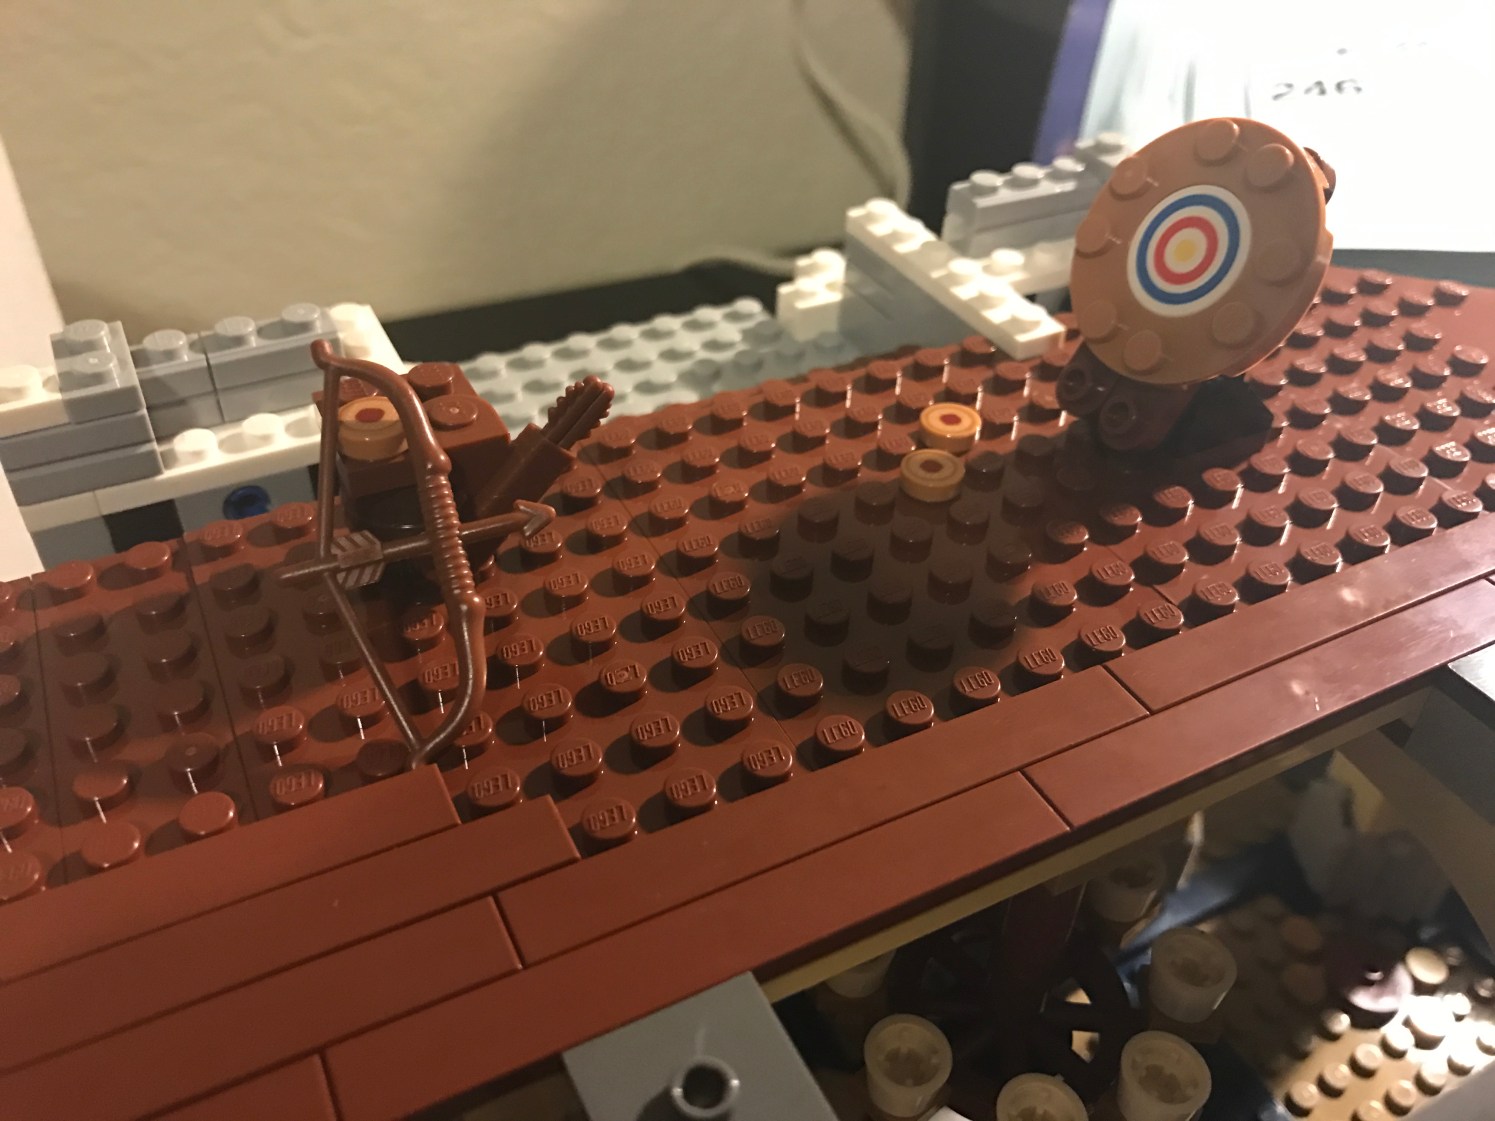
And up above is a great place for Merida to hang out and shoot targets in order to practice her skills. There are a lot of nods to Disney films throughout the castle so keep a sharp eye.
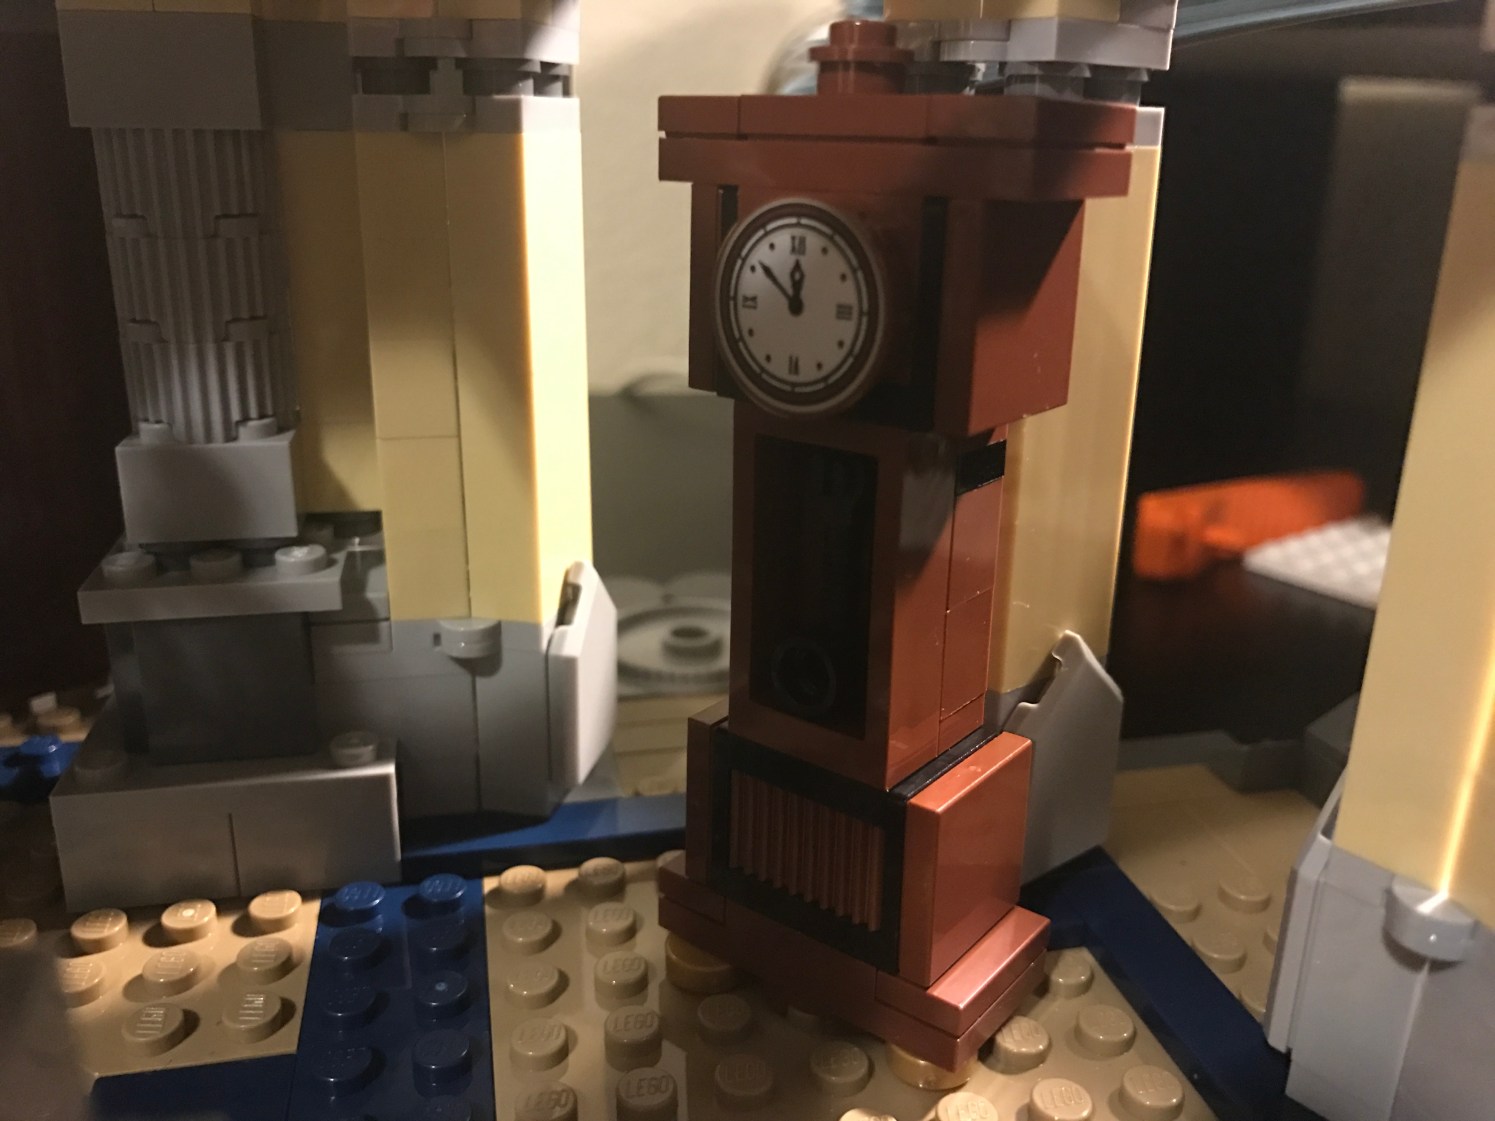
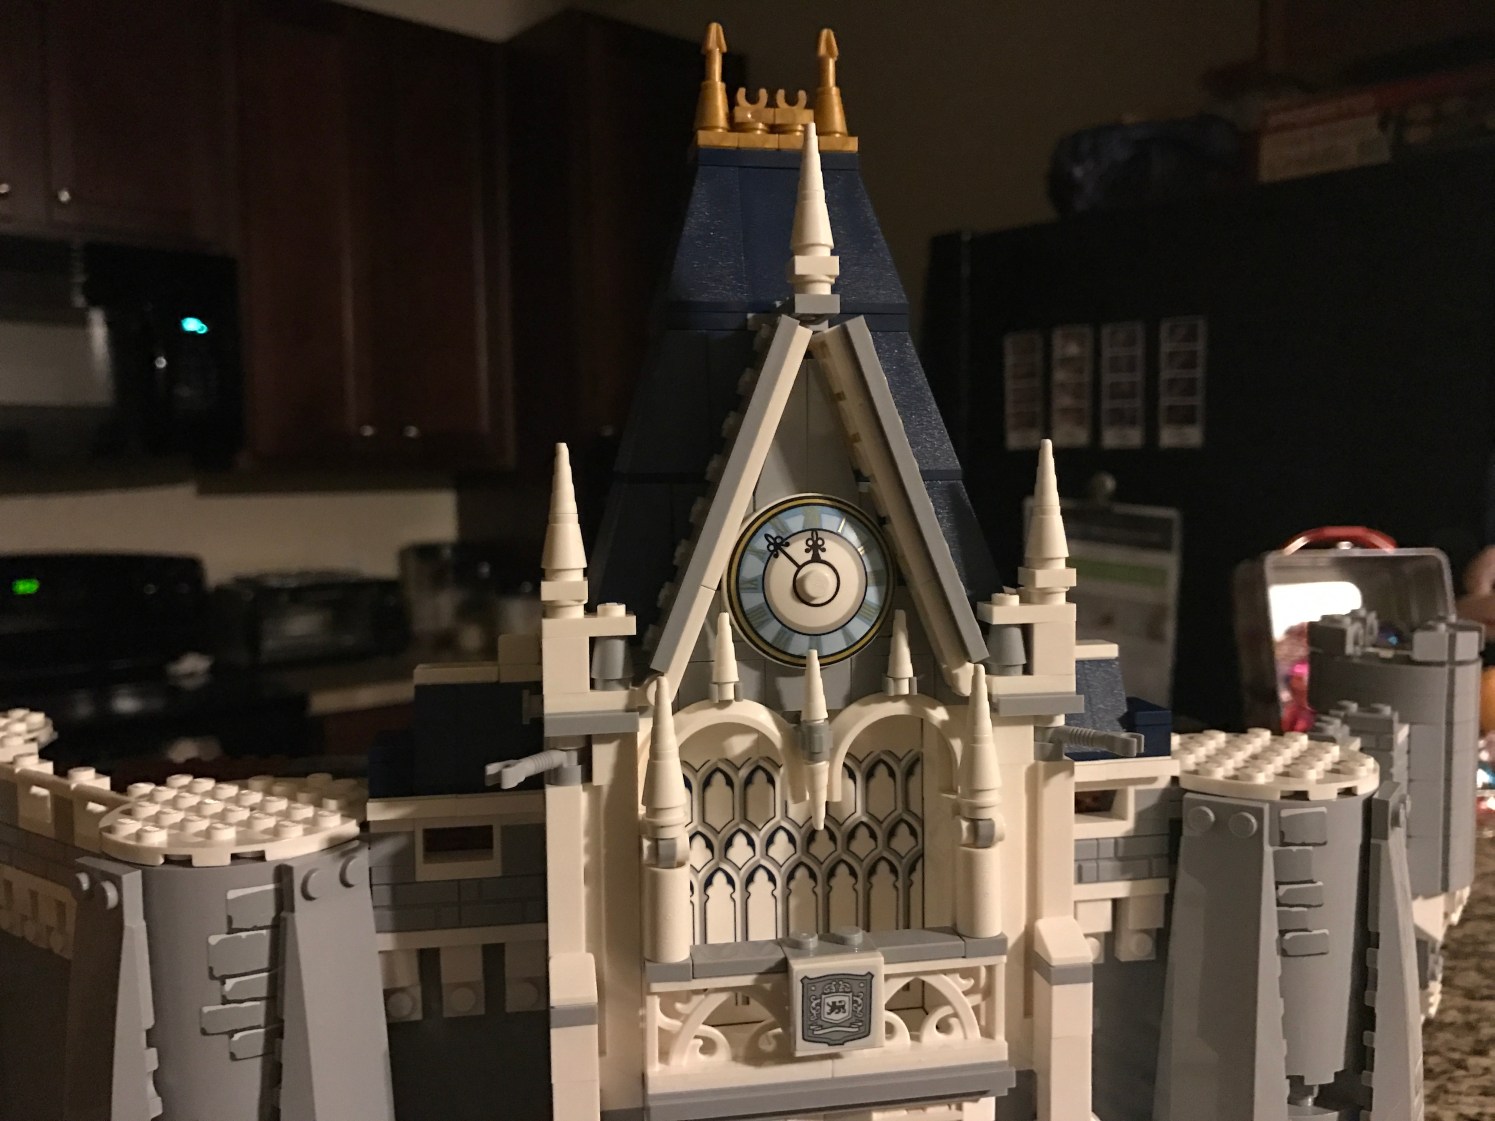
On the first floor, we’ve got a tall clock in order to help everyone inside the castle keep time.
And what castle is complete without some lovely decor.

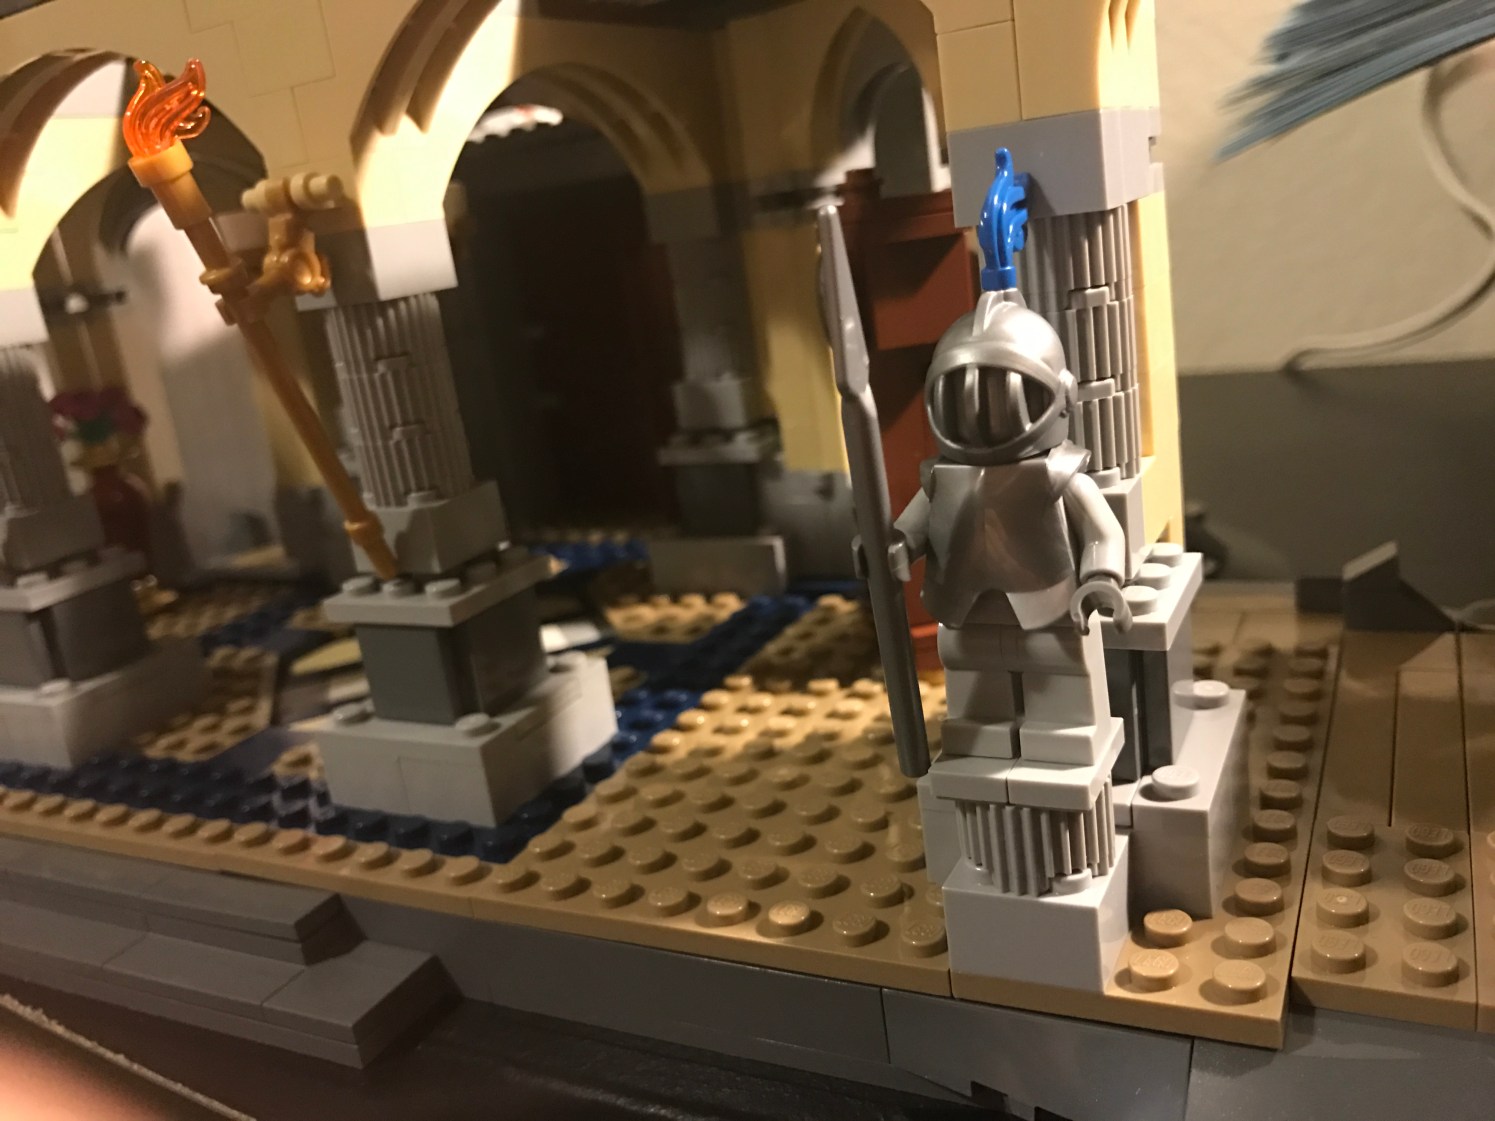
Standing guard of the lower floors are these intimidating statues, along with long flaming braziers
And let’s not forget a nice nod to Aladdin and his magical lamp.

Before long, our first floor came to completion and was already full of little references and details. From shields on the walls to a tiny magical lamp, I was thirsting to see what the next leg of this race had in store.
Come to find out, it was none other that Mickey’s partner in crime, Minnie Mouse.
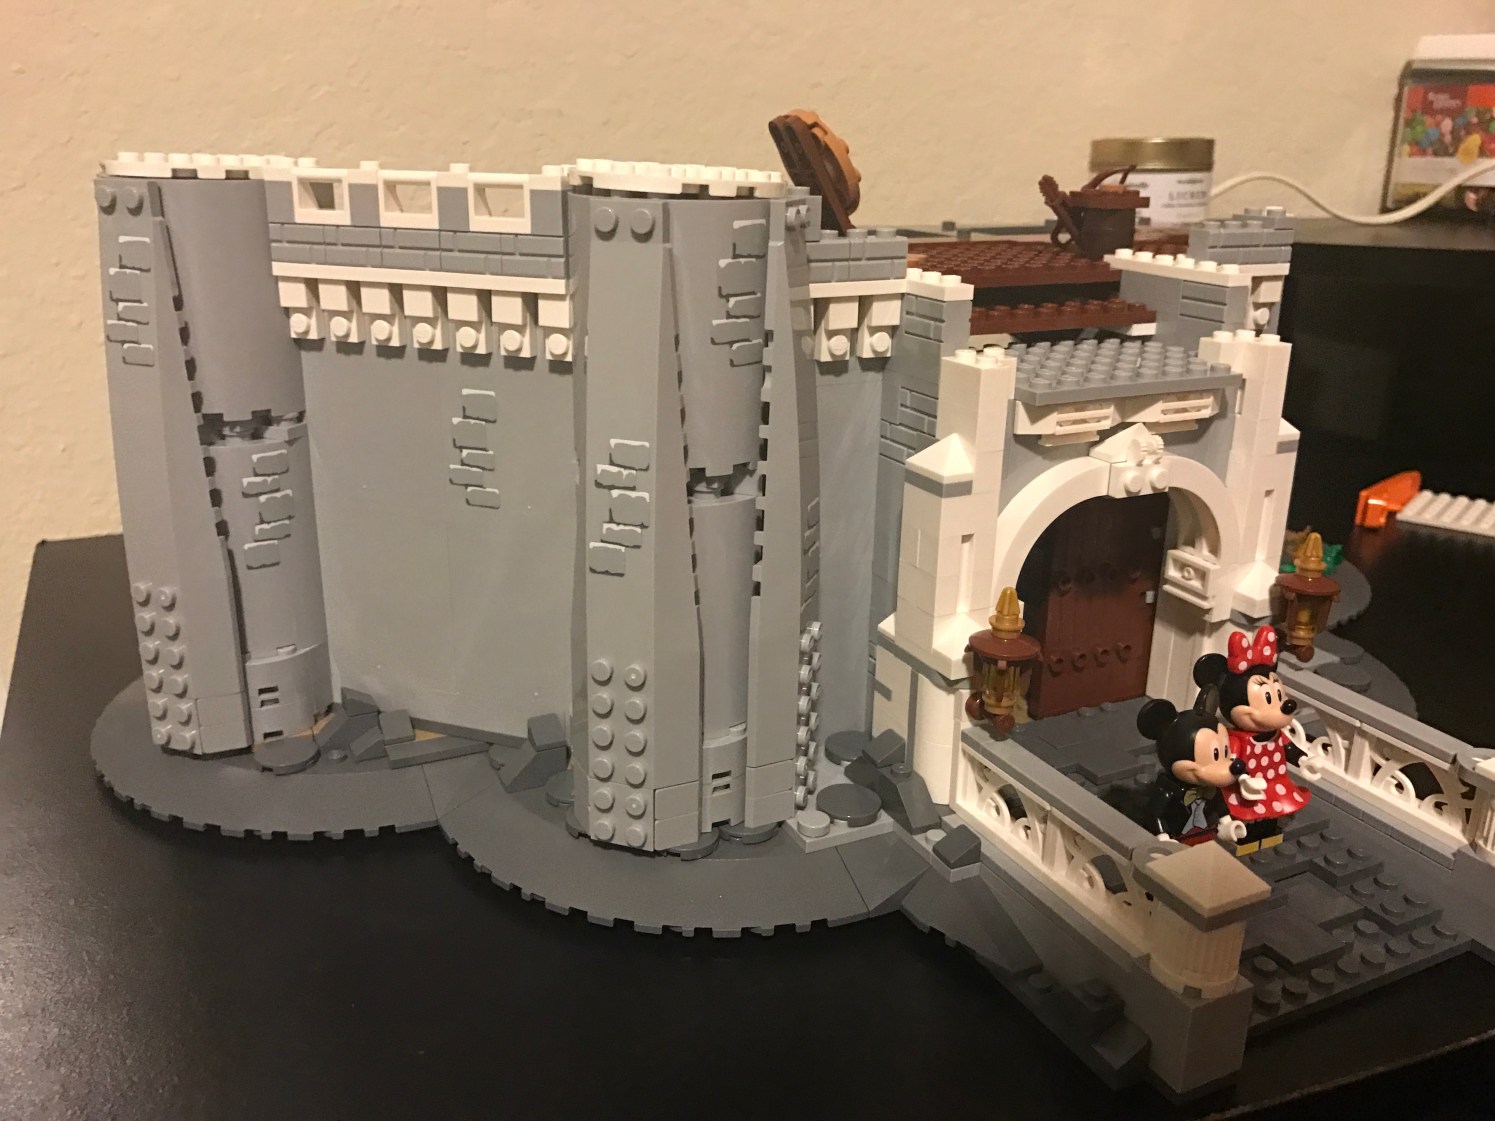
You’ll also notice that the outer walls of the castle were beginning to take shape. While some of those bricks were actually stickers, others were special LEGOs designed to look like brick walls, which sat on top of each other. As a side note, I also love the look of rocks at the castle’s base.
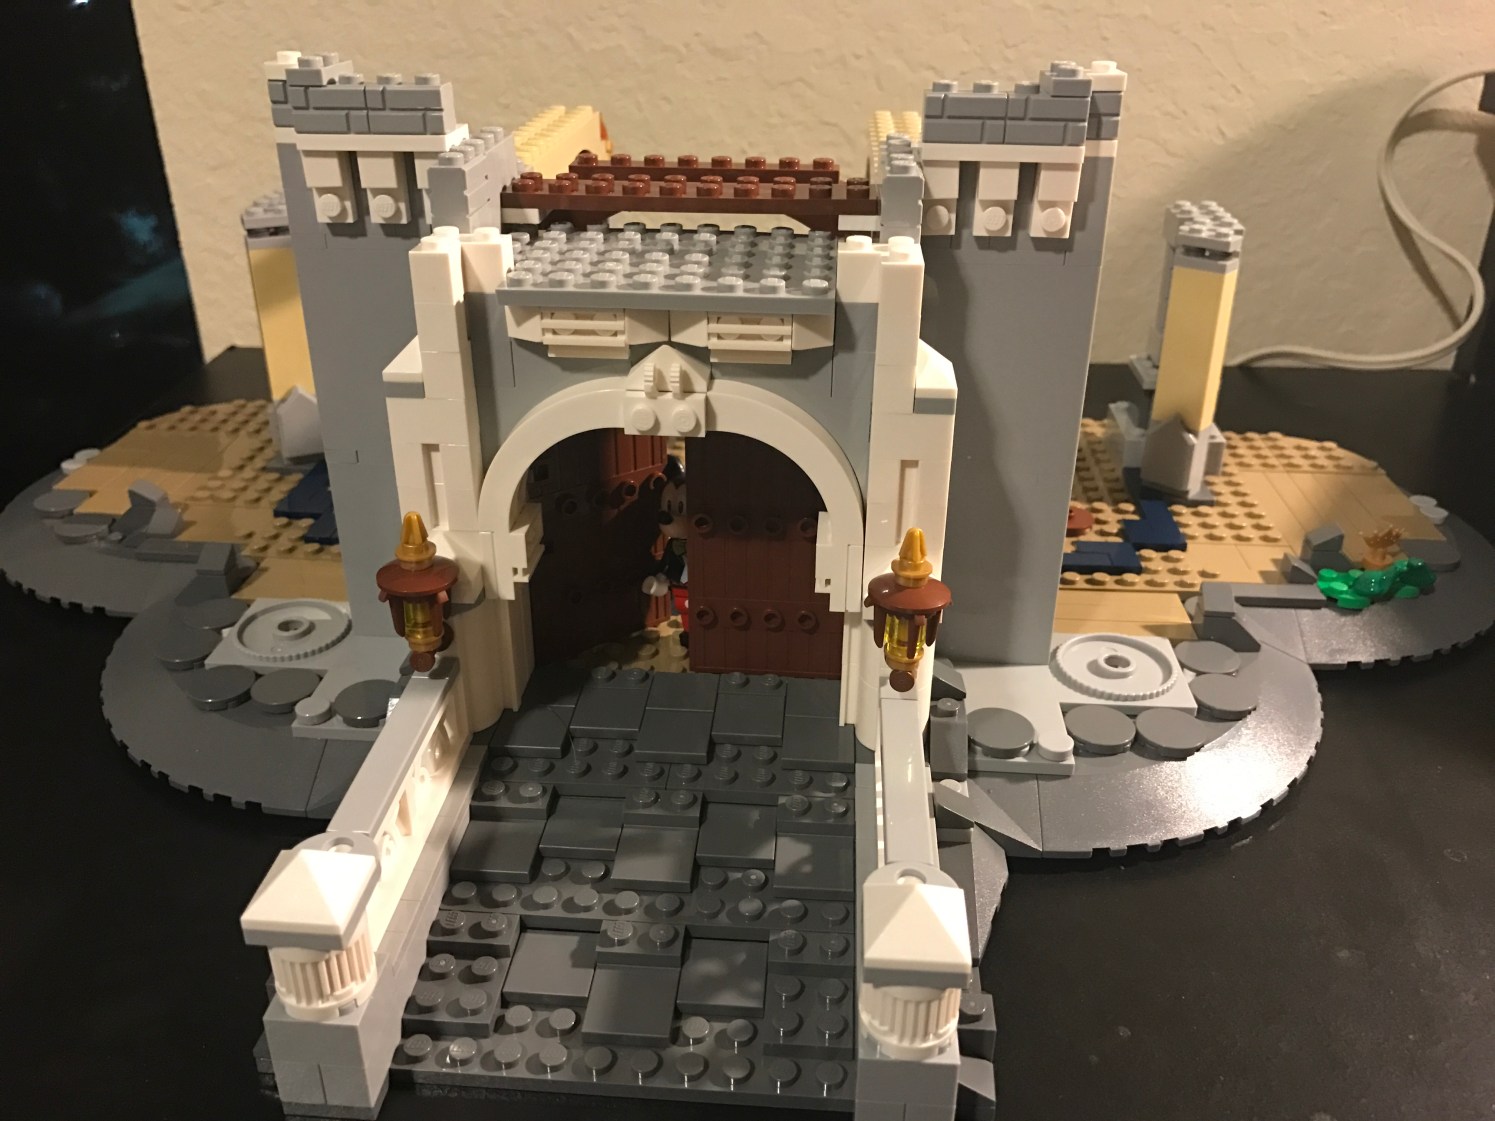
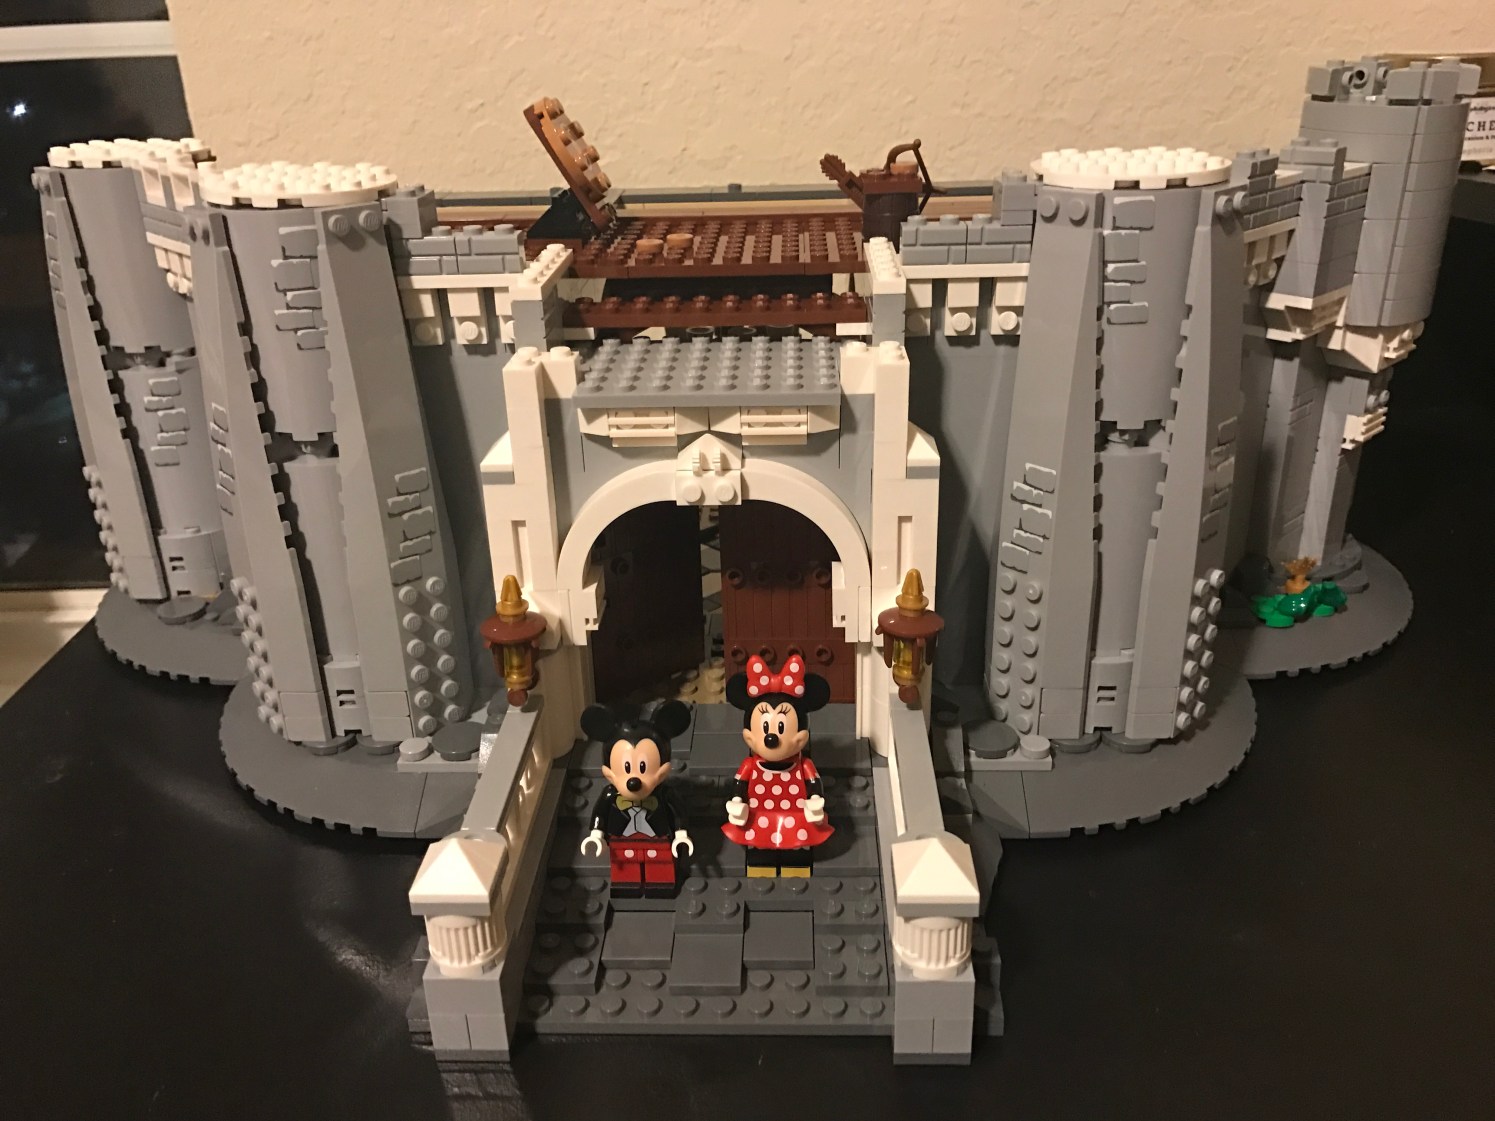
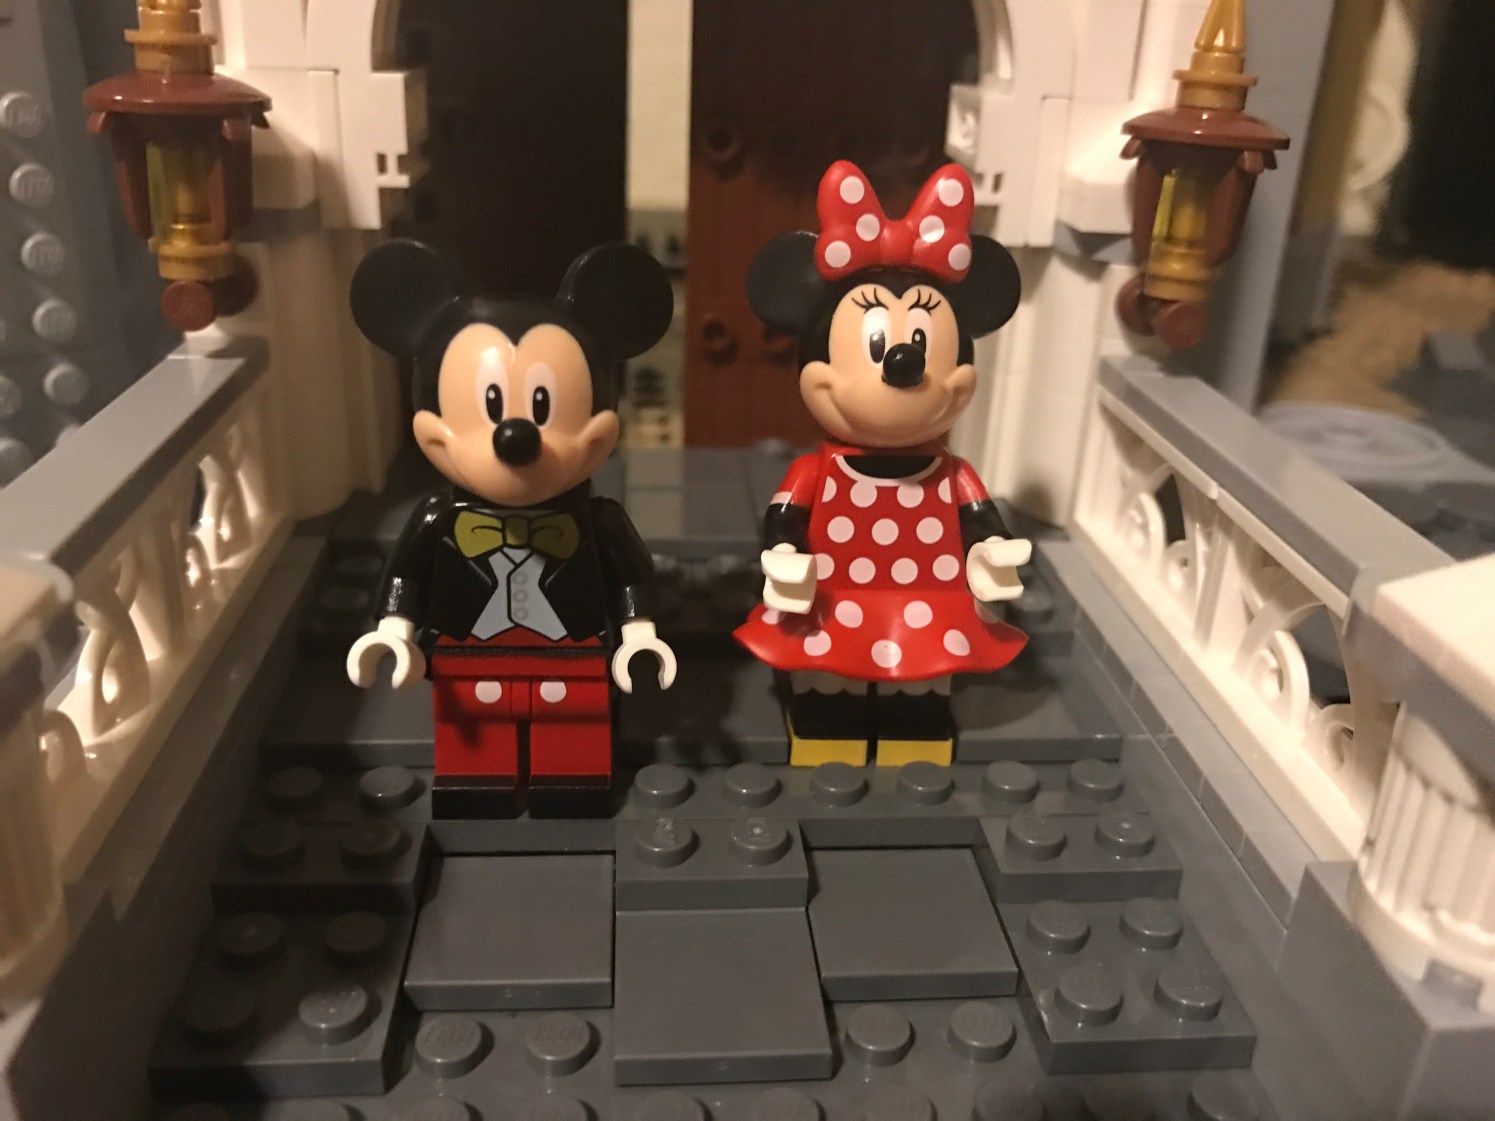
Mickey and Minnie were quite happy with the progress. Here you can also see the little lamps behind them and the intricate railing on either side of the entryway.
We started our journey to a taller castle by building the front facing, adding in little spires, as well as a clock so that everyone knows when the magic starts. You’ll notice it’s almost midnight. Perhaps Cinderella ought to get home ASAP.
Building a foundation for the next level is quite time consuming and made up of a tiny little parts that create the base for your next steps.

But just when I was starting to become disheartened at the amount of hours spent with seemingly little progress, Donald showed up to the party!
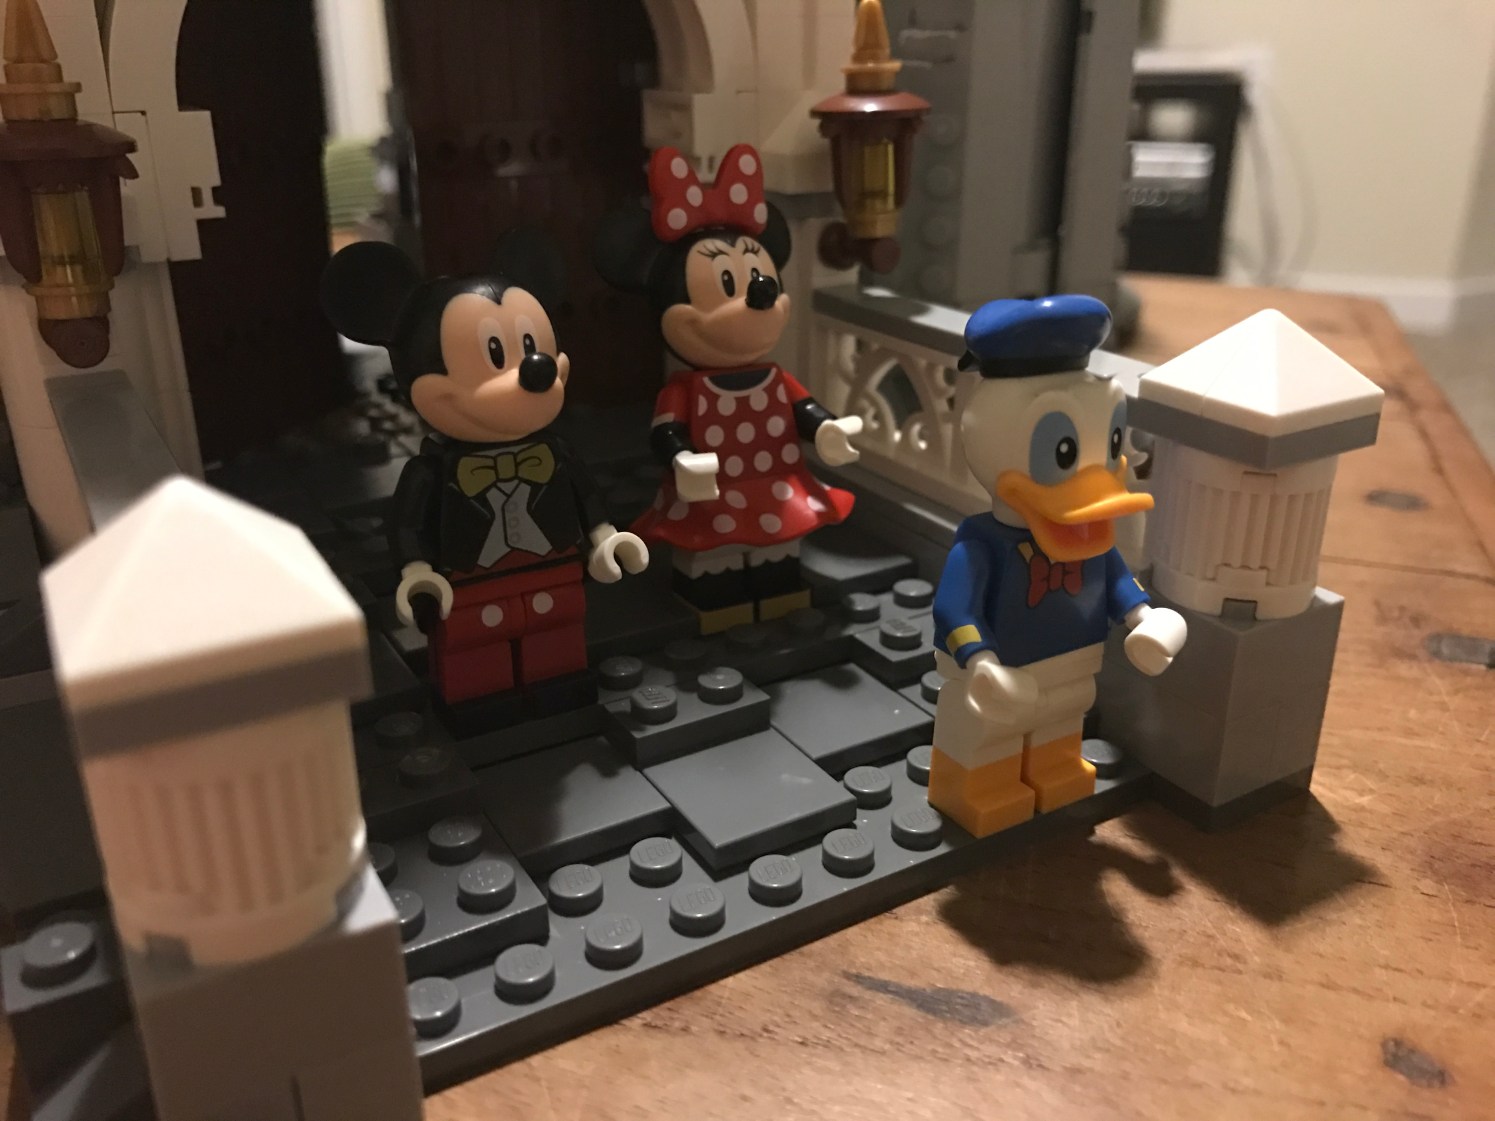
And before long, my castle was actually starting to LOOK like a castle as I added the finishing touches onto the first level of towers and flags, which really give it this feel of realness as they wave the in the breeze. You might notice Carl behind the castle, playing on his phone while he waited for me to finally call it a night on castle building.
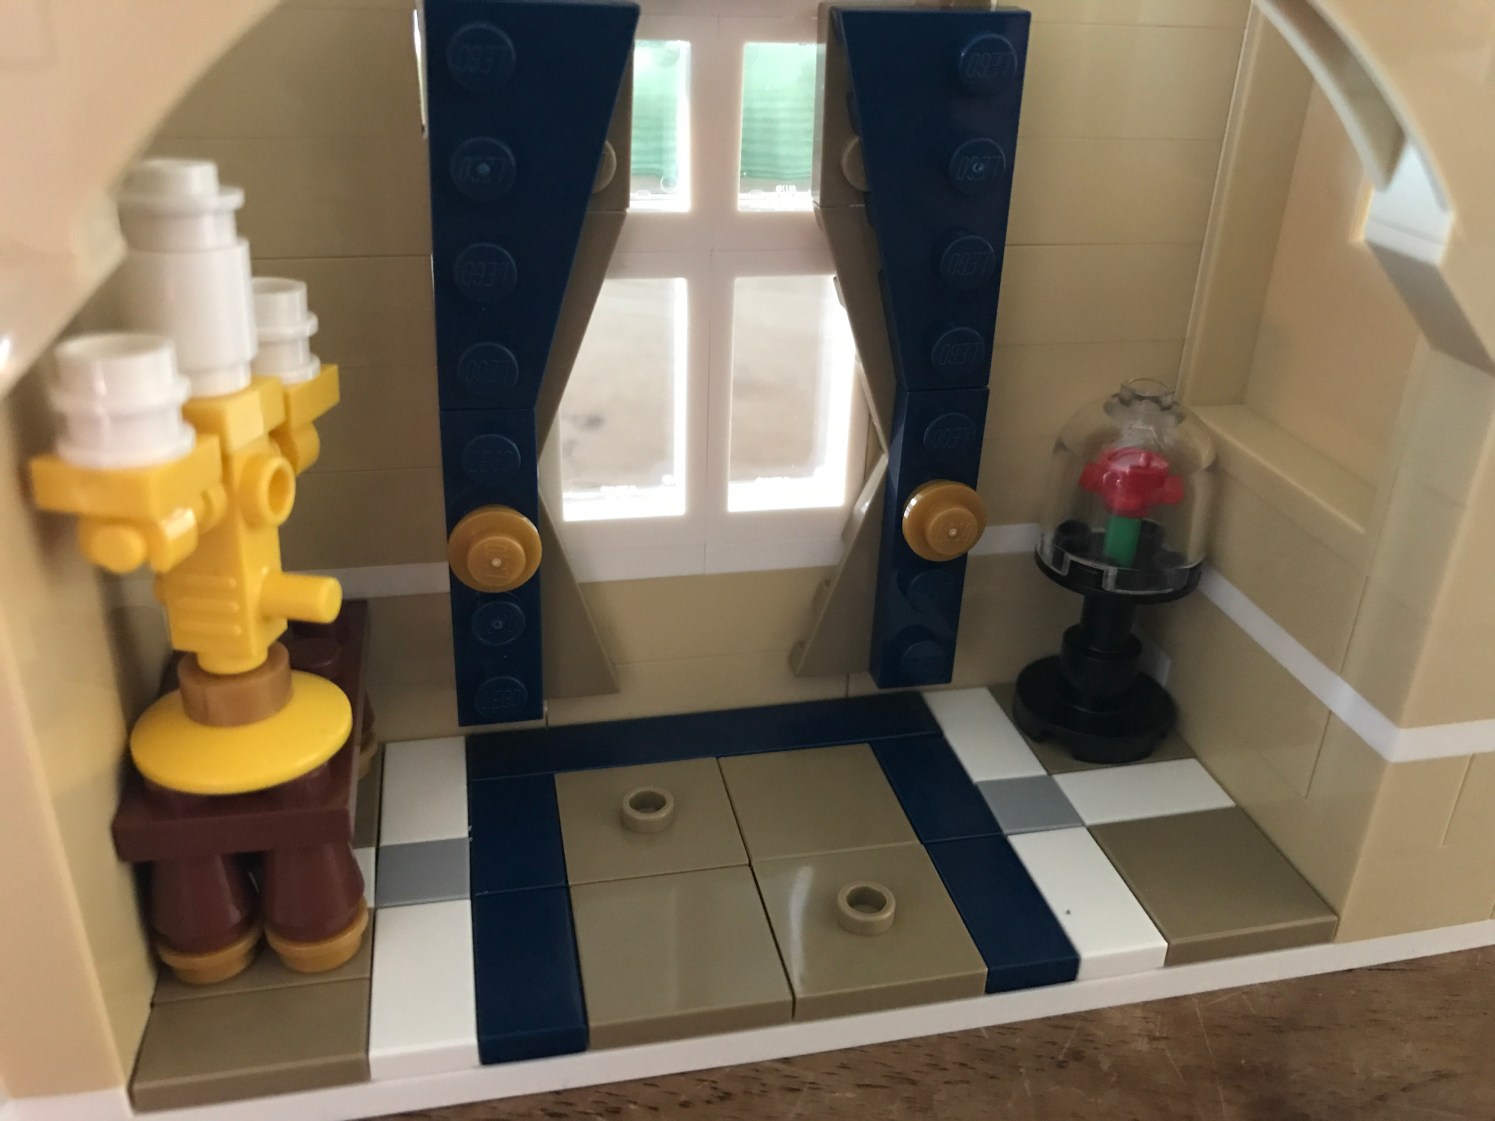
The second floor is even more full of details than the first. From a candelabra to the enchanted rose, this room just screams Beauty and the Beast.
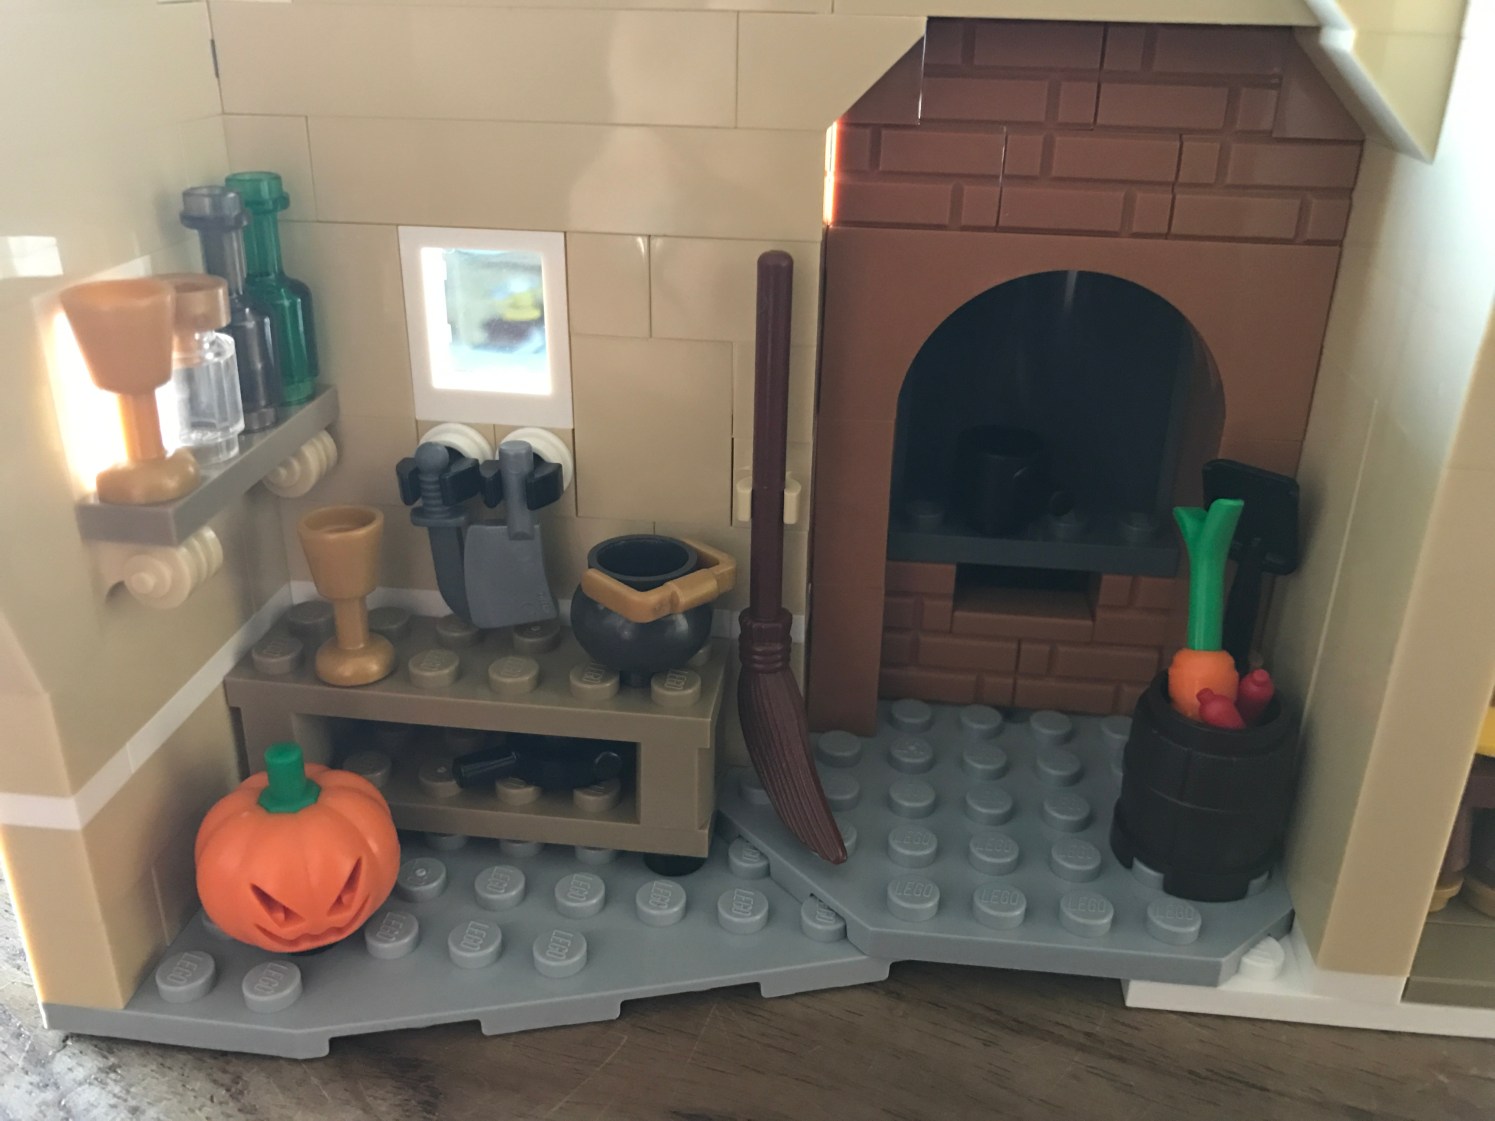
Meanwhile, in the kitchen, you’ll find hints to the Little Mermaid’s deranged chef as well as a pumpkin, which when facing away, might be reminiscent of Cinderella. As it stands, it could be the menacing Headless Horseman or even one Pumpkin King.
Either way, the first floor was coming along quite nicely.

And on the front side, I was adding in the glass windows so that no matter where you visited inside the castle, you could be sure to get a spot of sunlight.

As we continue up, we find a whole room dedicated to Mickey’s sorcery days. From the brooms he summoned to his water pail, and even his spell book and hat, this room leaves no room for subtlety in its references.
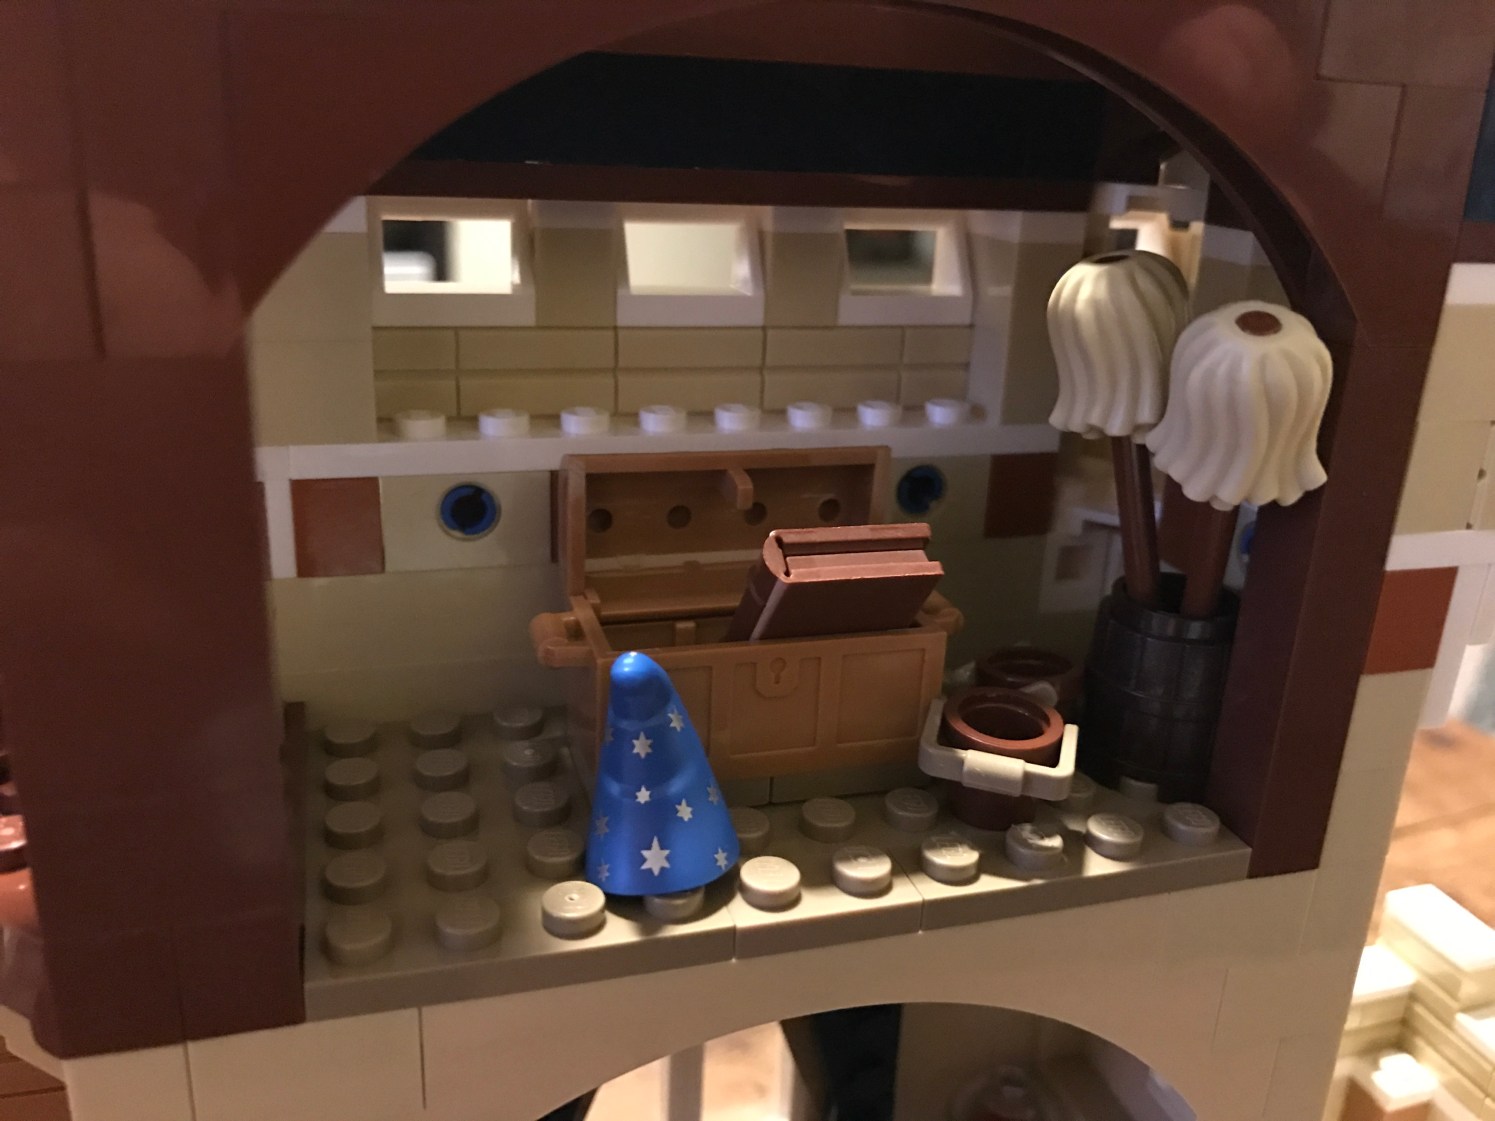
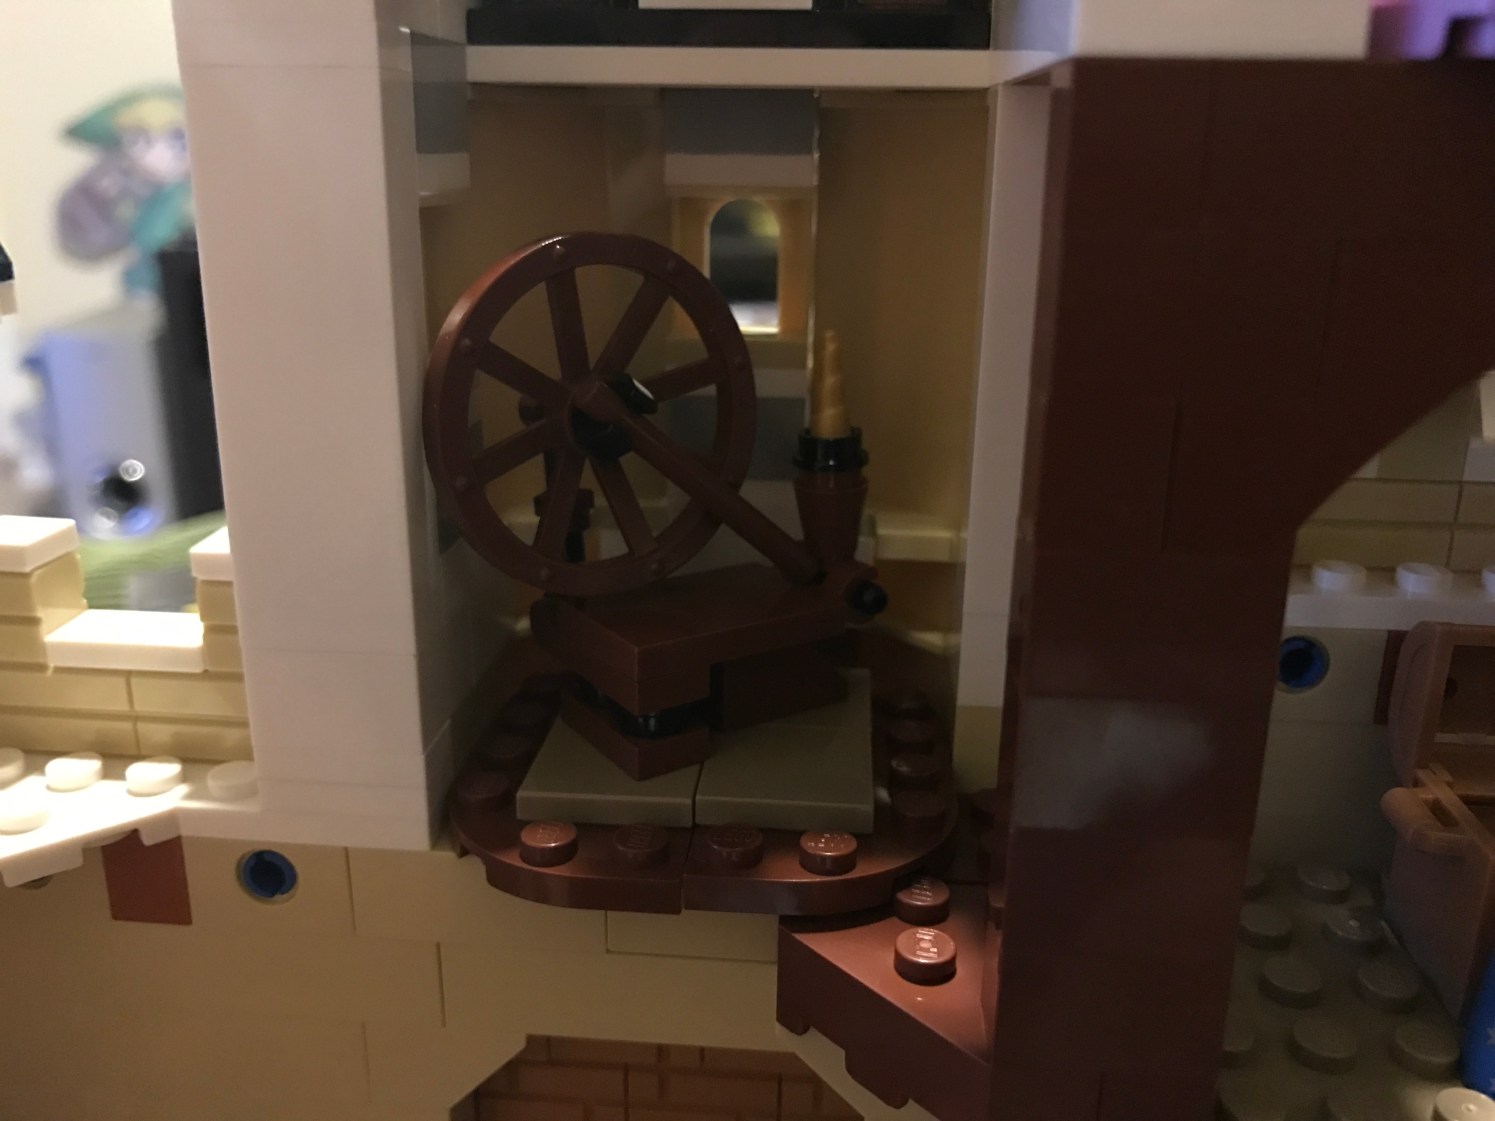
And Aurora will be not so pleased to find a wheel enchanted with a sleeping spell with her name on it.
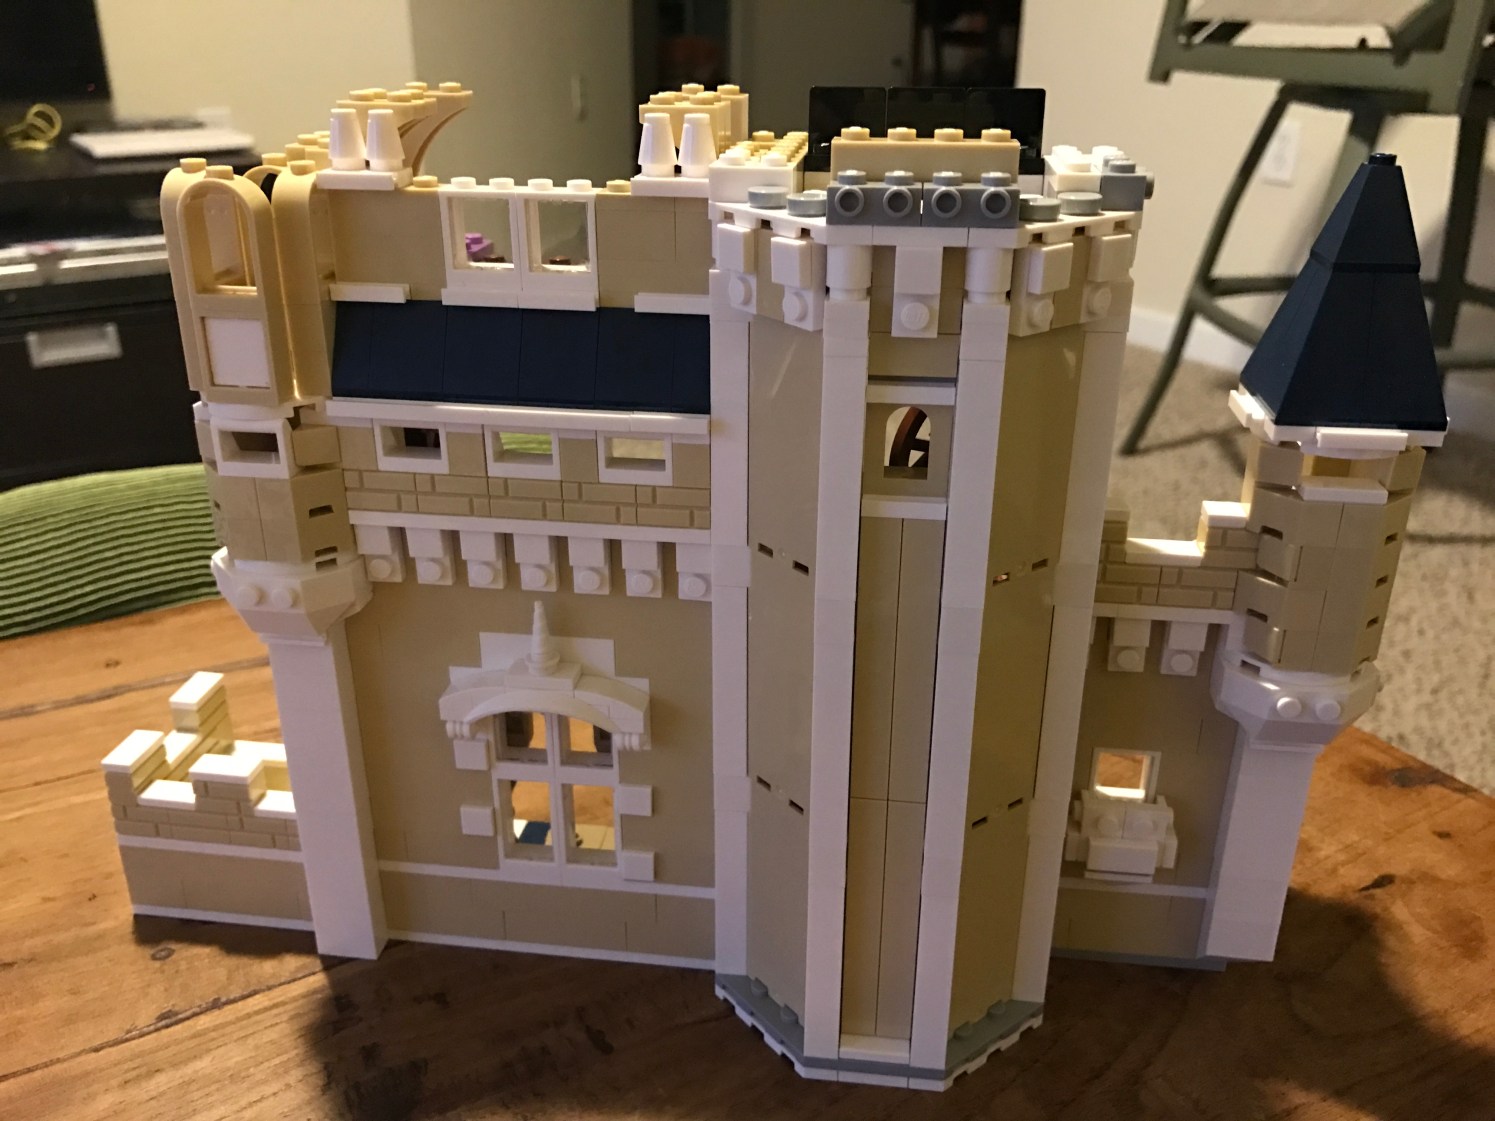
Without even realizing it, we were already building into the third floor of the castle!
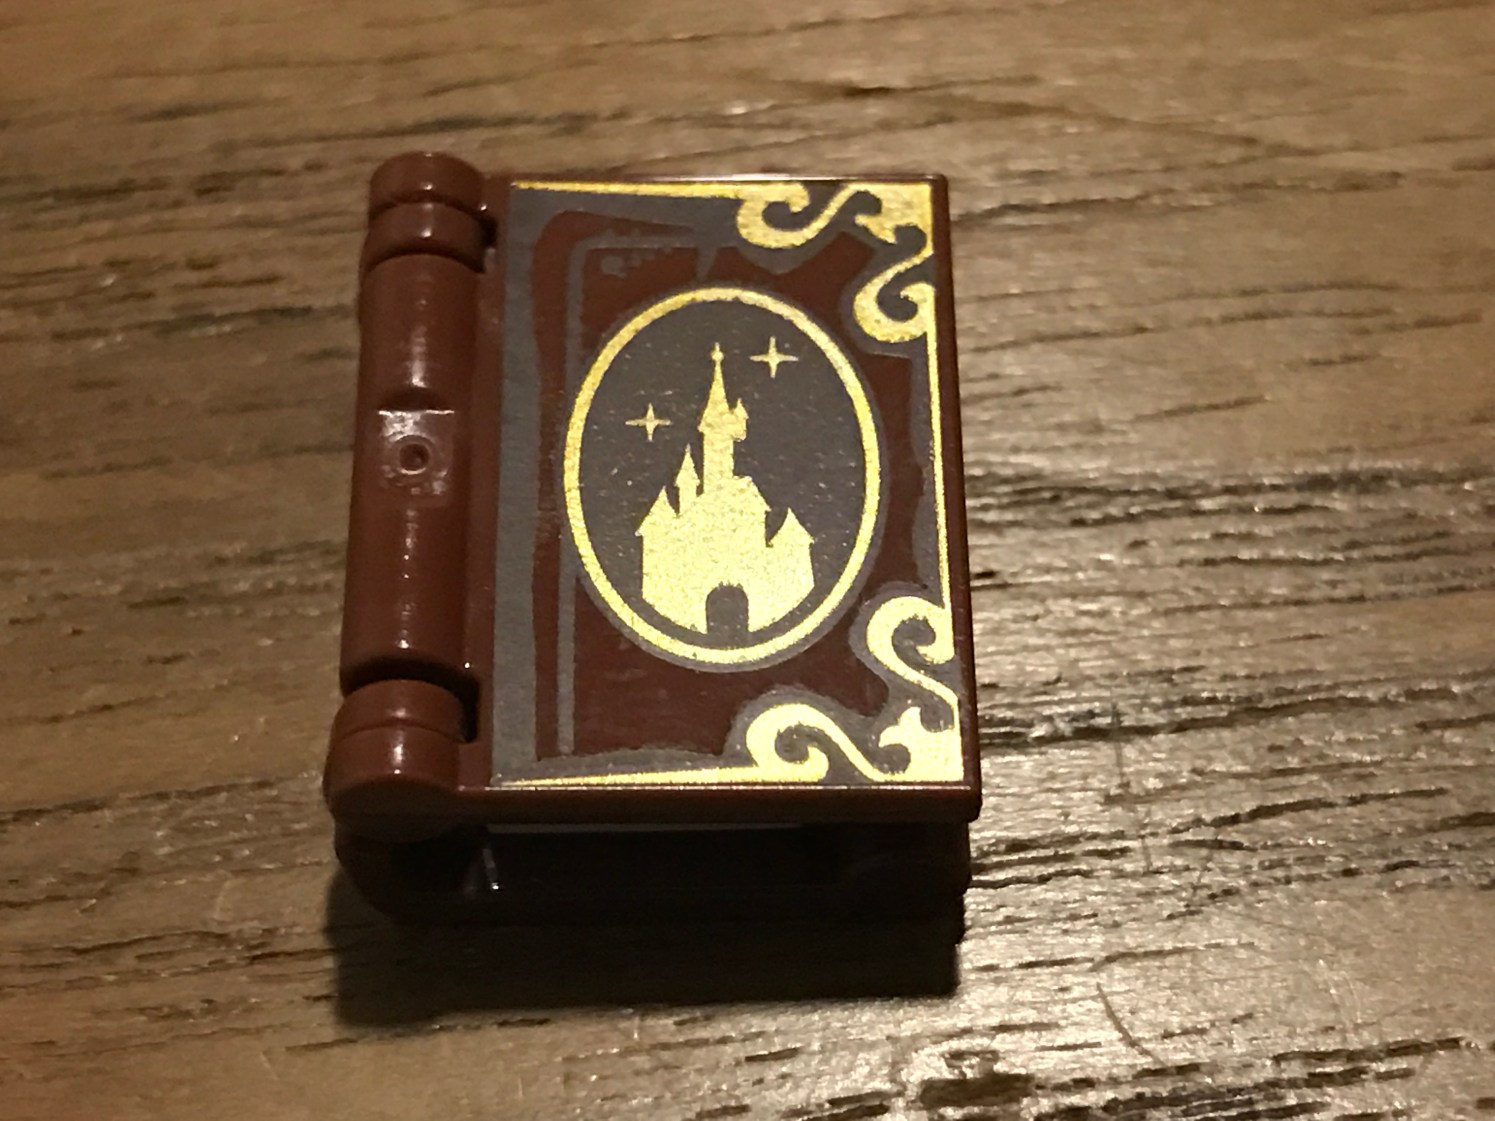
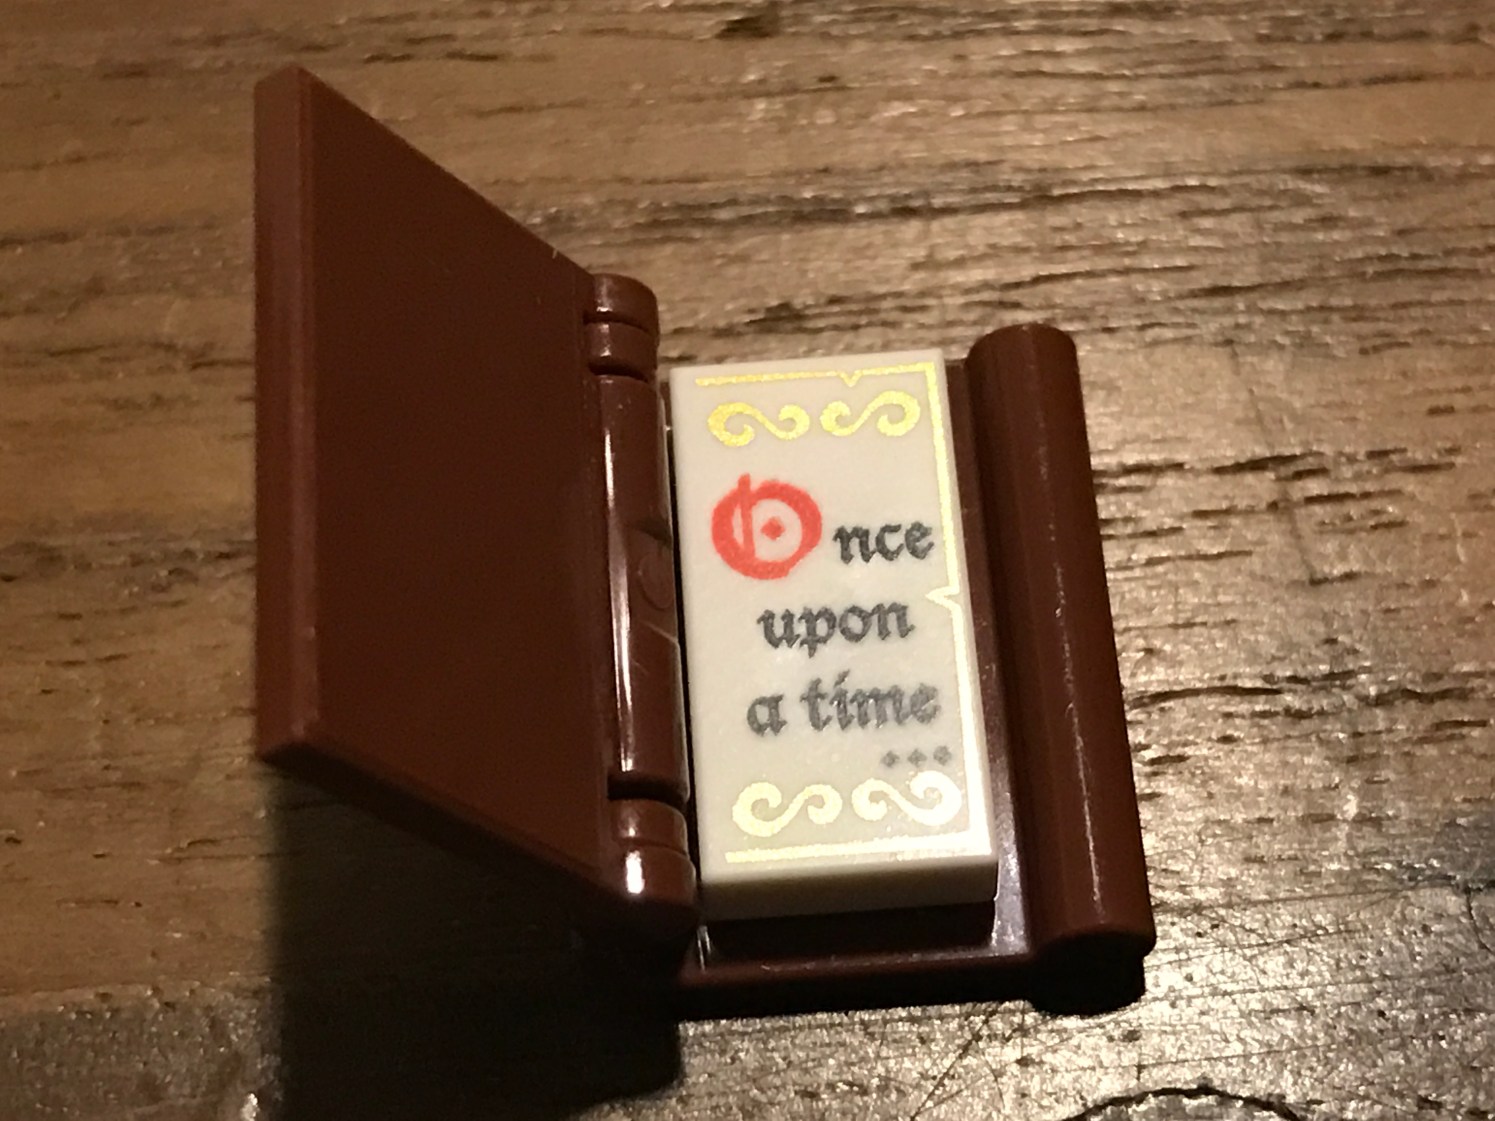
But the details kept coming. This book in particular was TINY, but still housed enough interest to warrant photos.
With the floors coming together, it was time to build more towers, and you can see that even Miss Tinkerbell decided to join us for the party.
In the final tower, you’ll notice, on the lower piece, an actual fireworks launcher. This way, when the Wishes Fireworks show ends in May, you can continue the celebration at home with your LEGO castle.
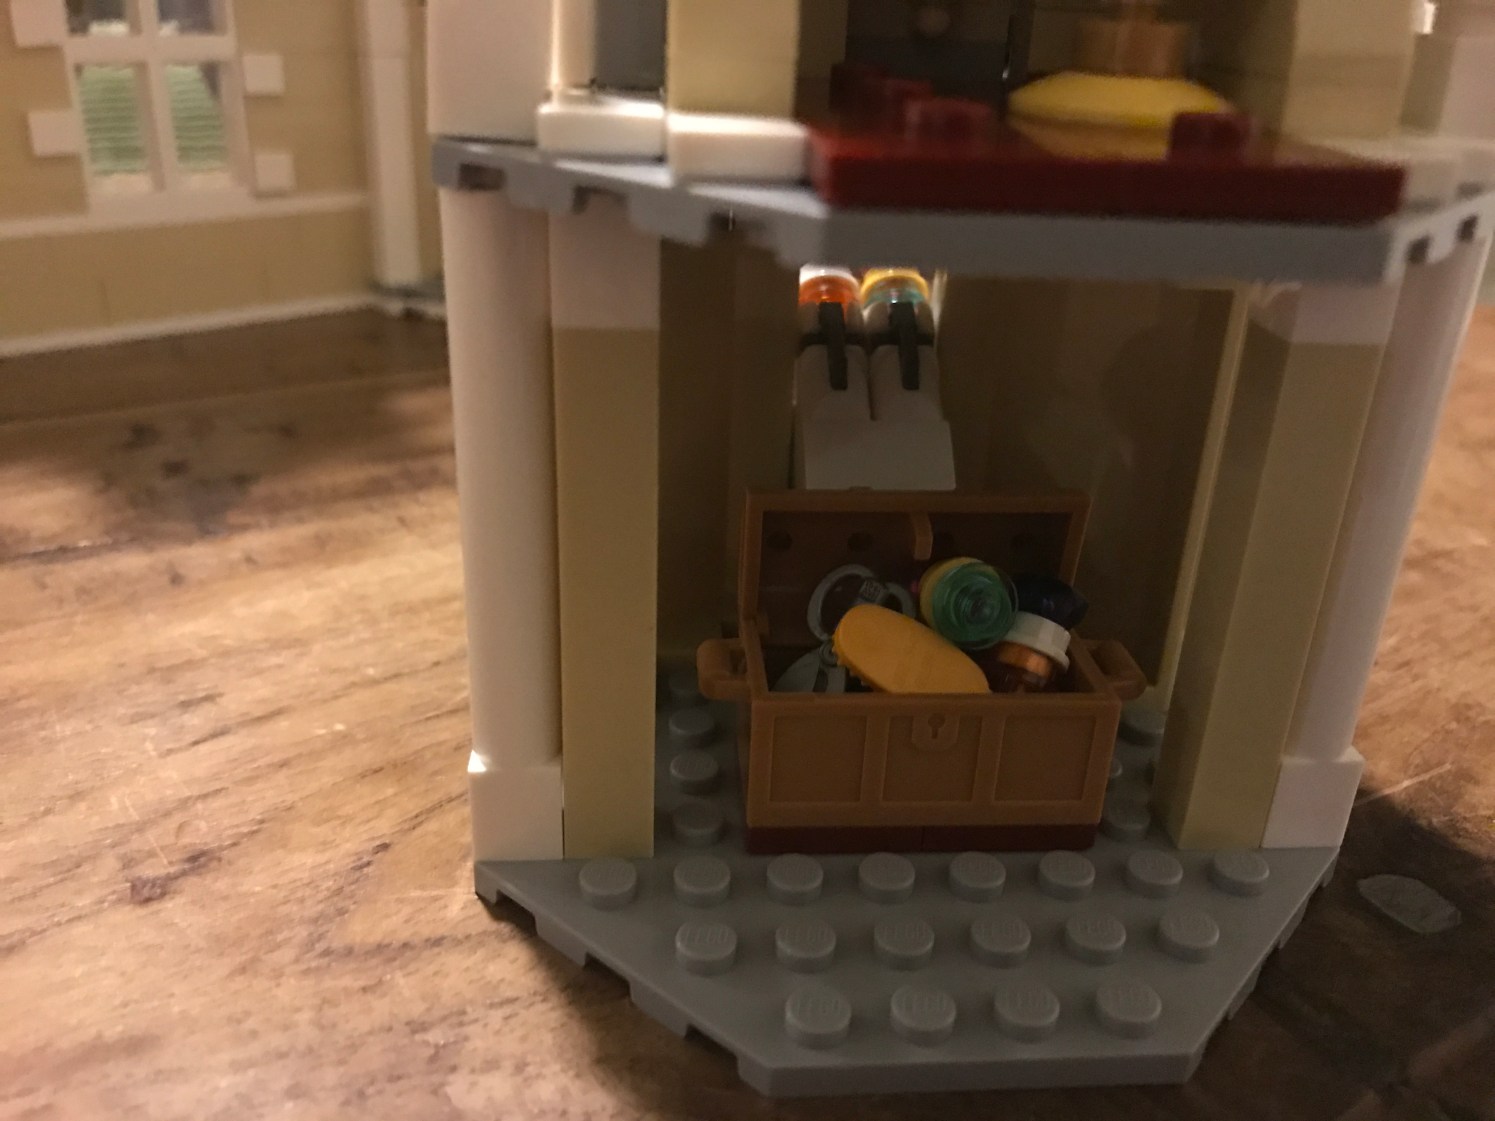
But the tower also houses the dark secret of a mirror and a poisonous apple which helped start it all.

Not to mention a chest full of Rapunzel’s hair accessories.
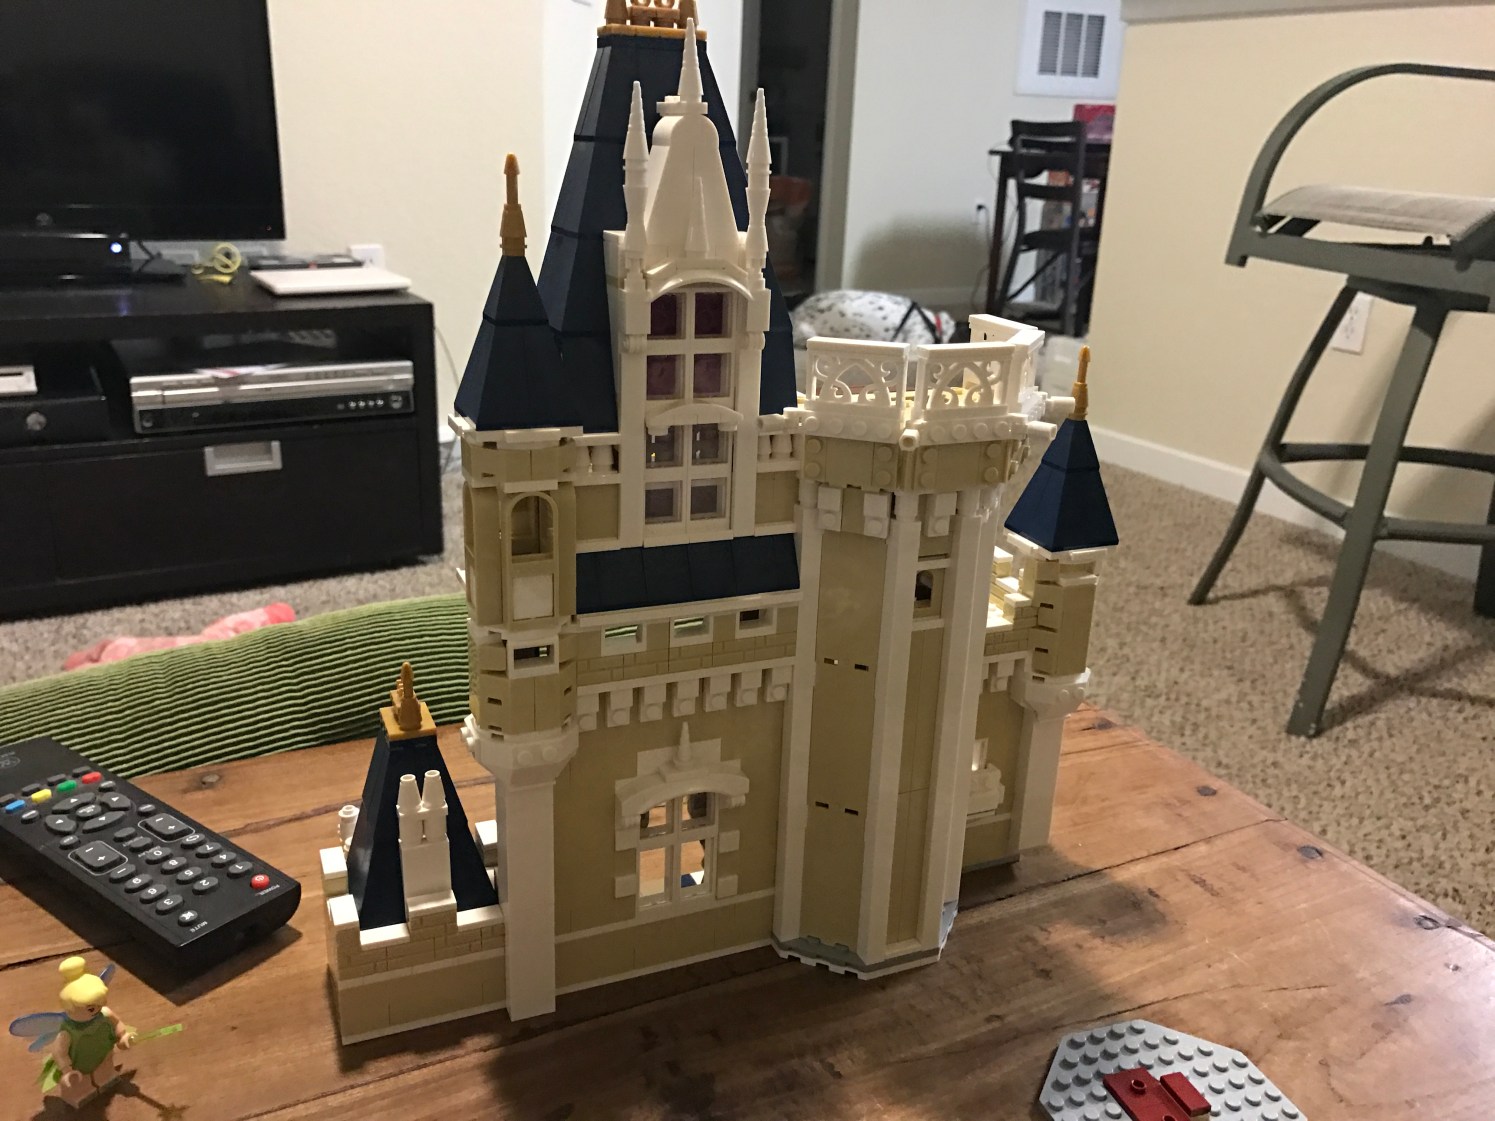
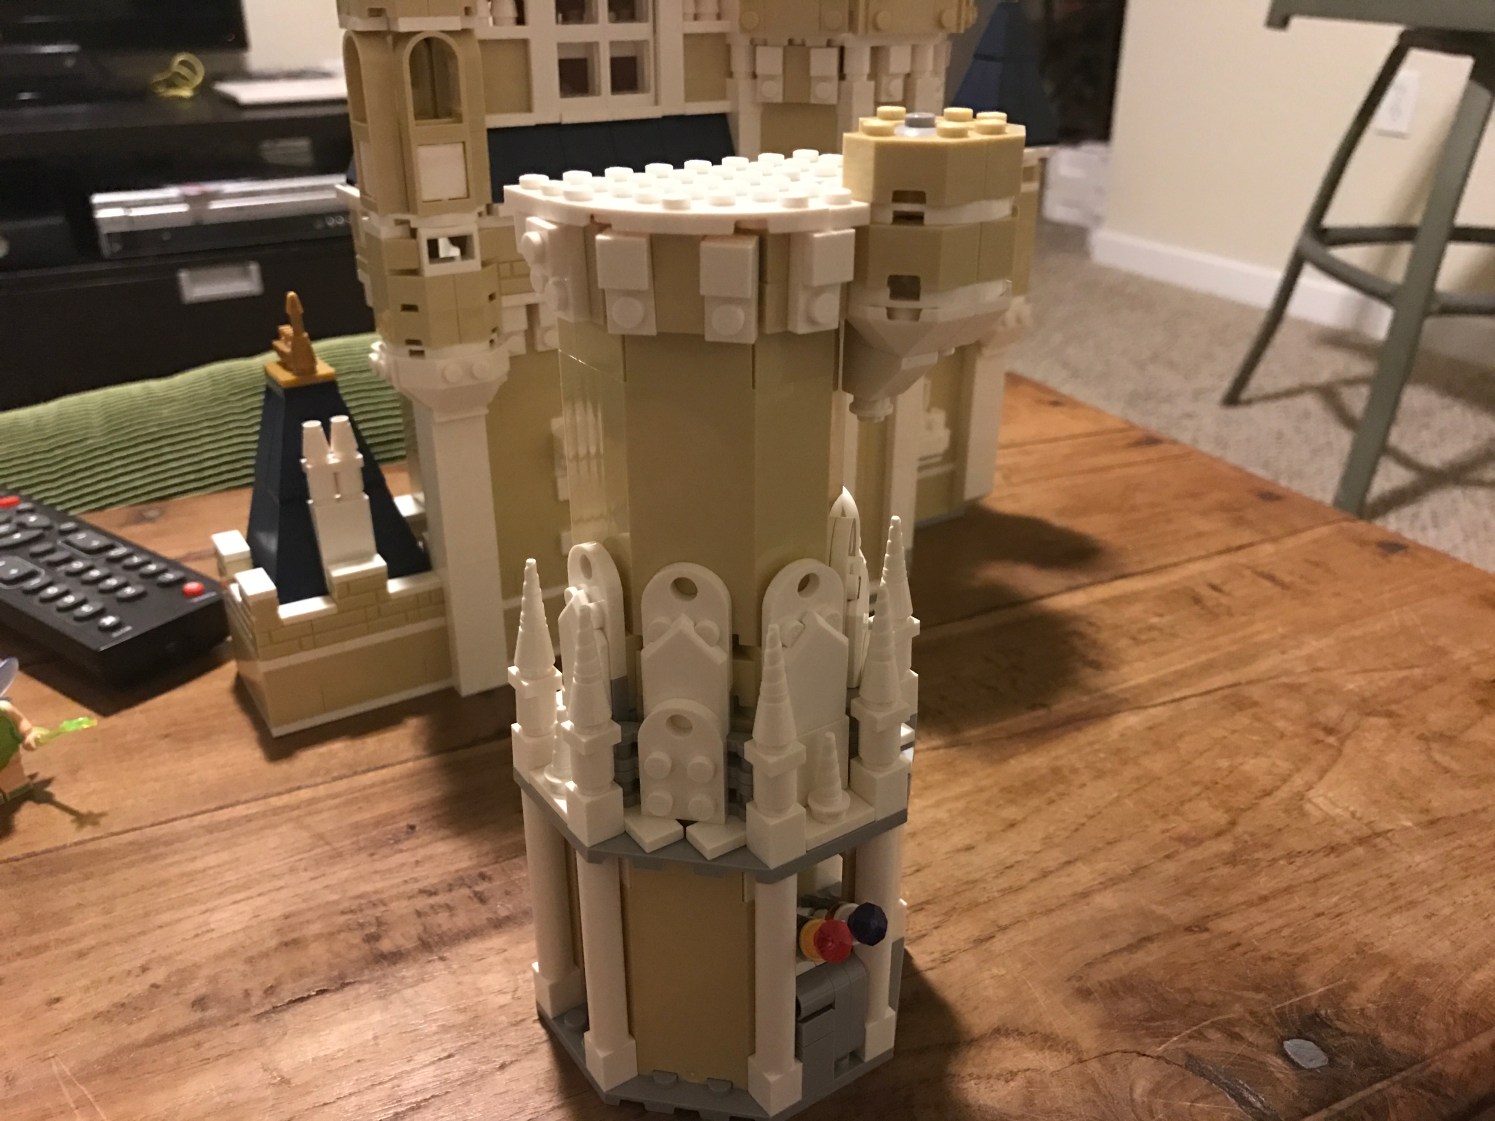
The final spire is loaded with pieces to give it an authentic feel and make it a crowning piece to the entire project below it.

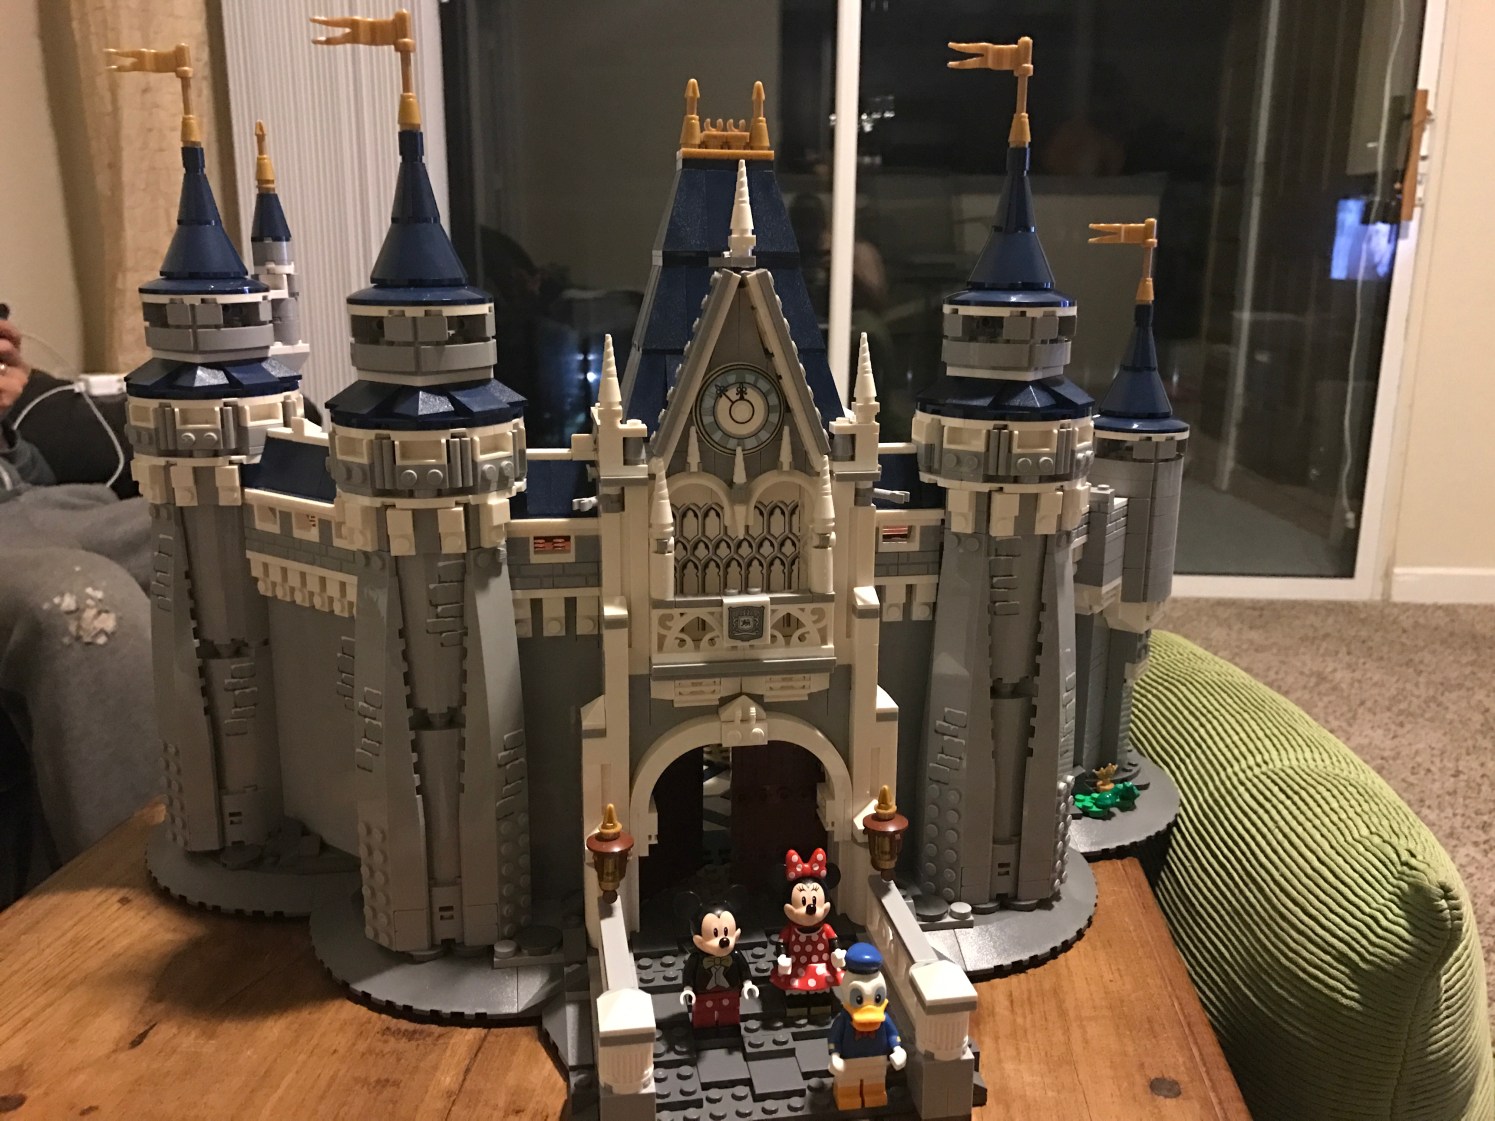
And with all these pieces added atop each other, we finally have our finished castle!!!
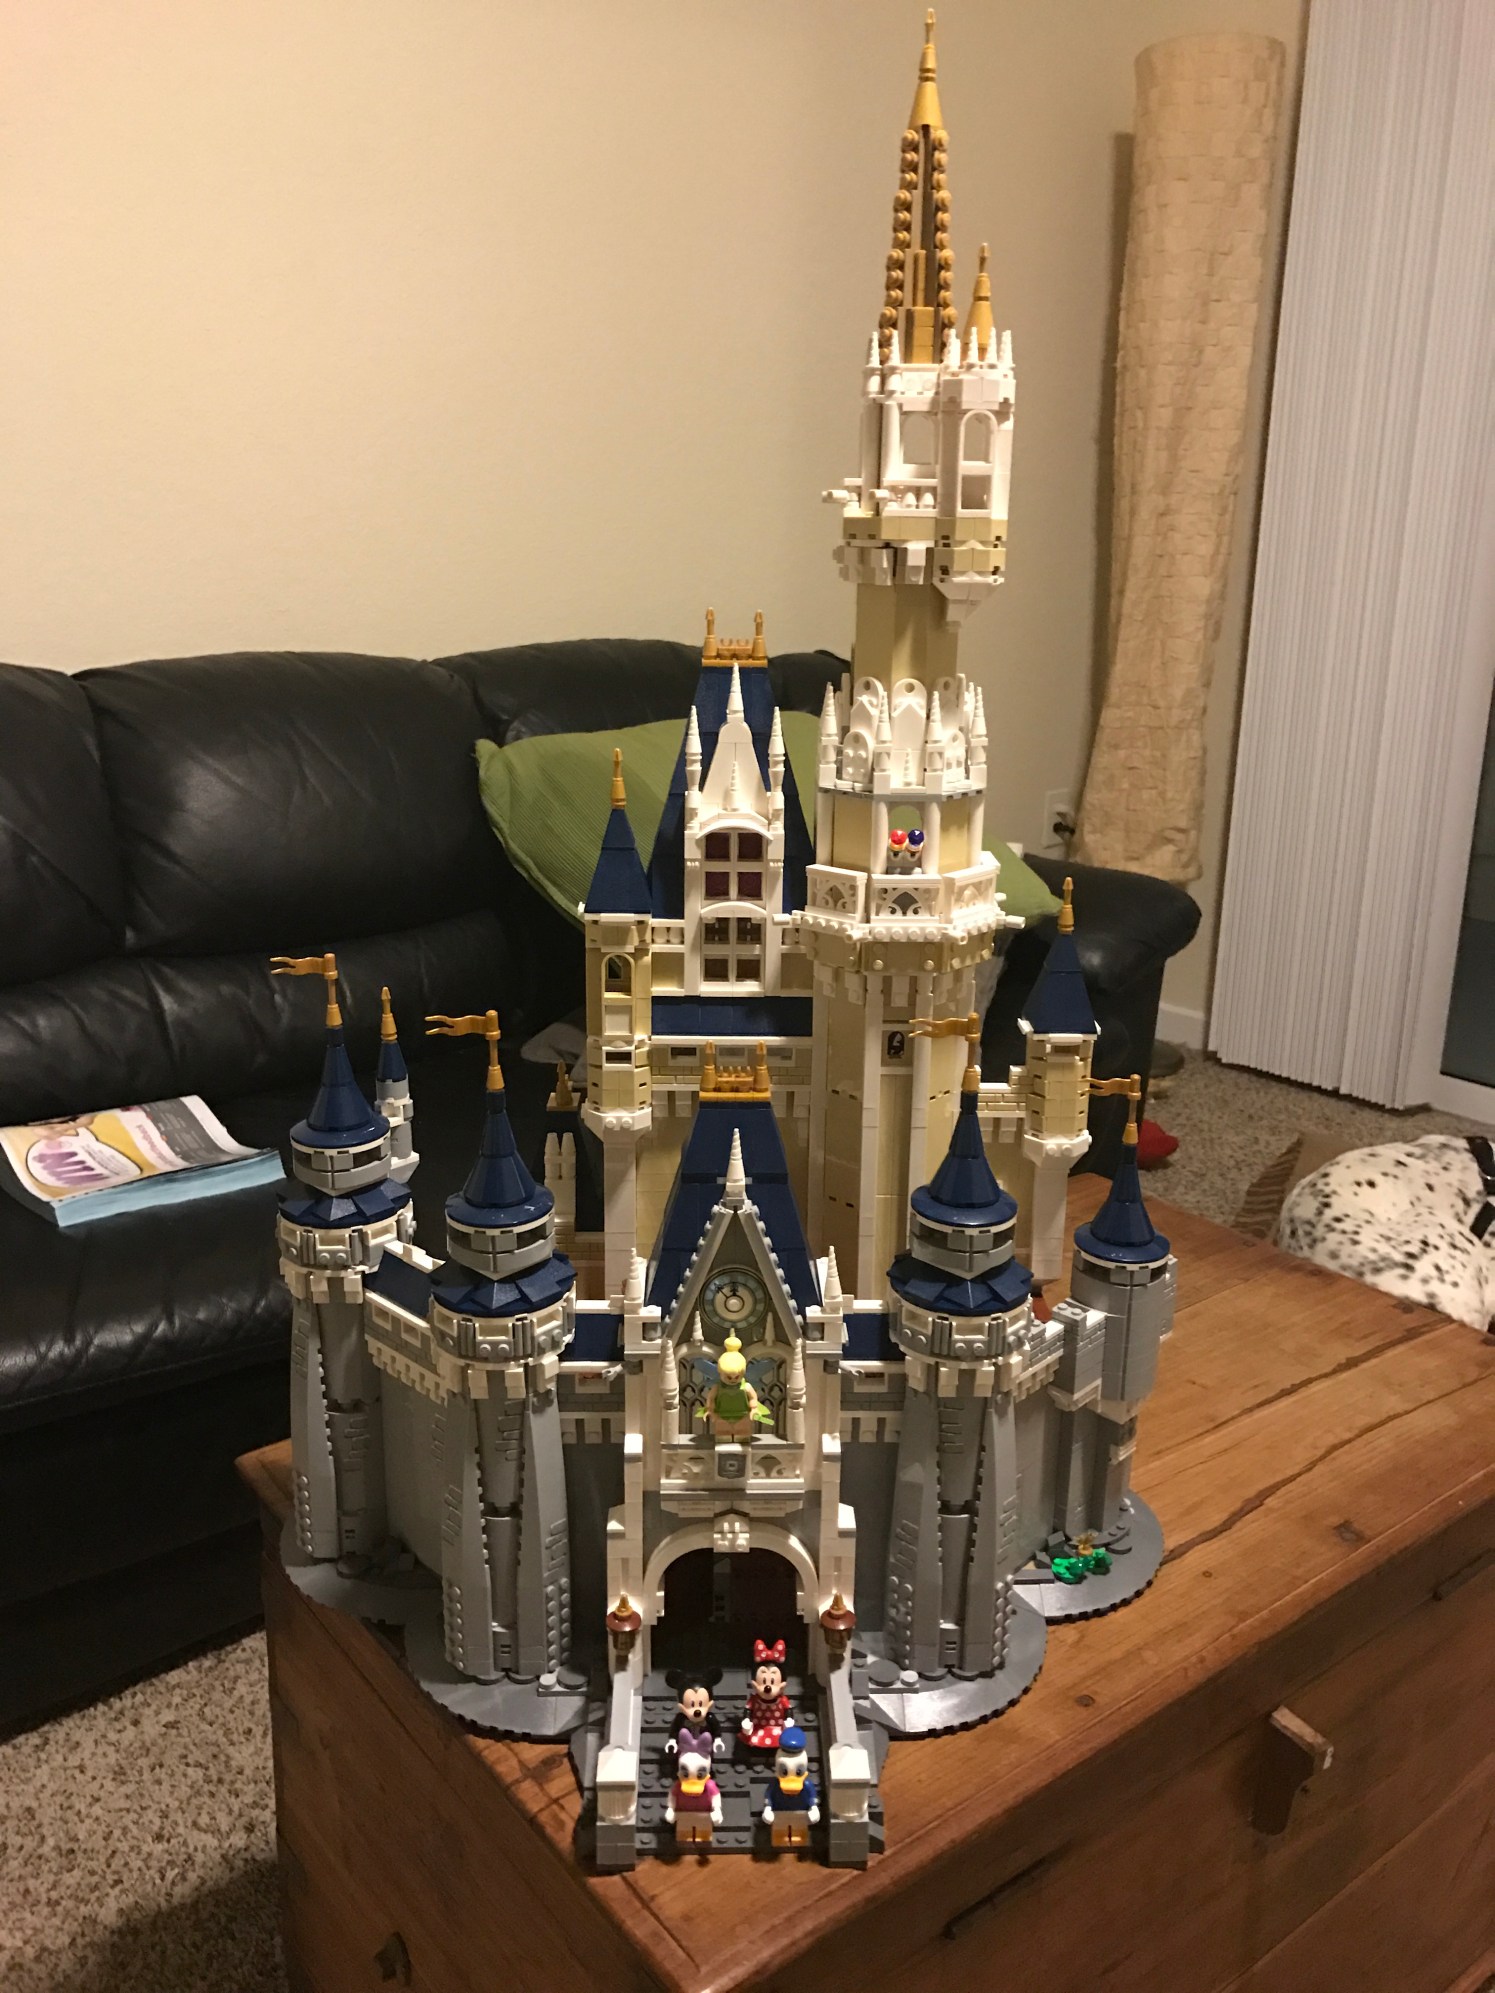
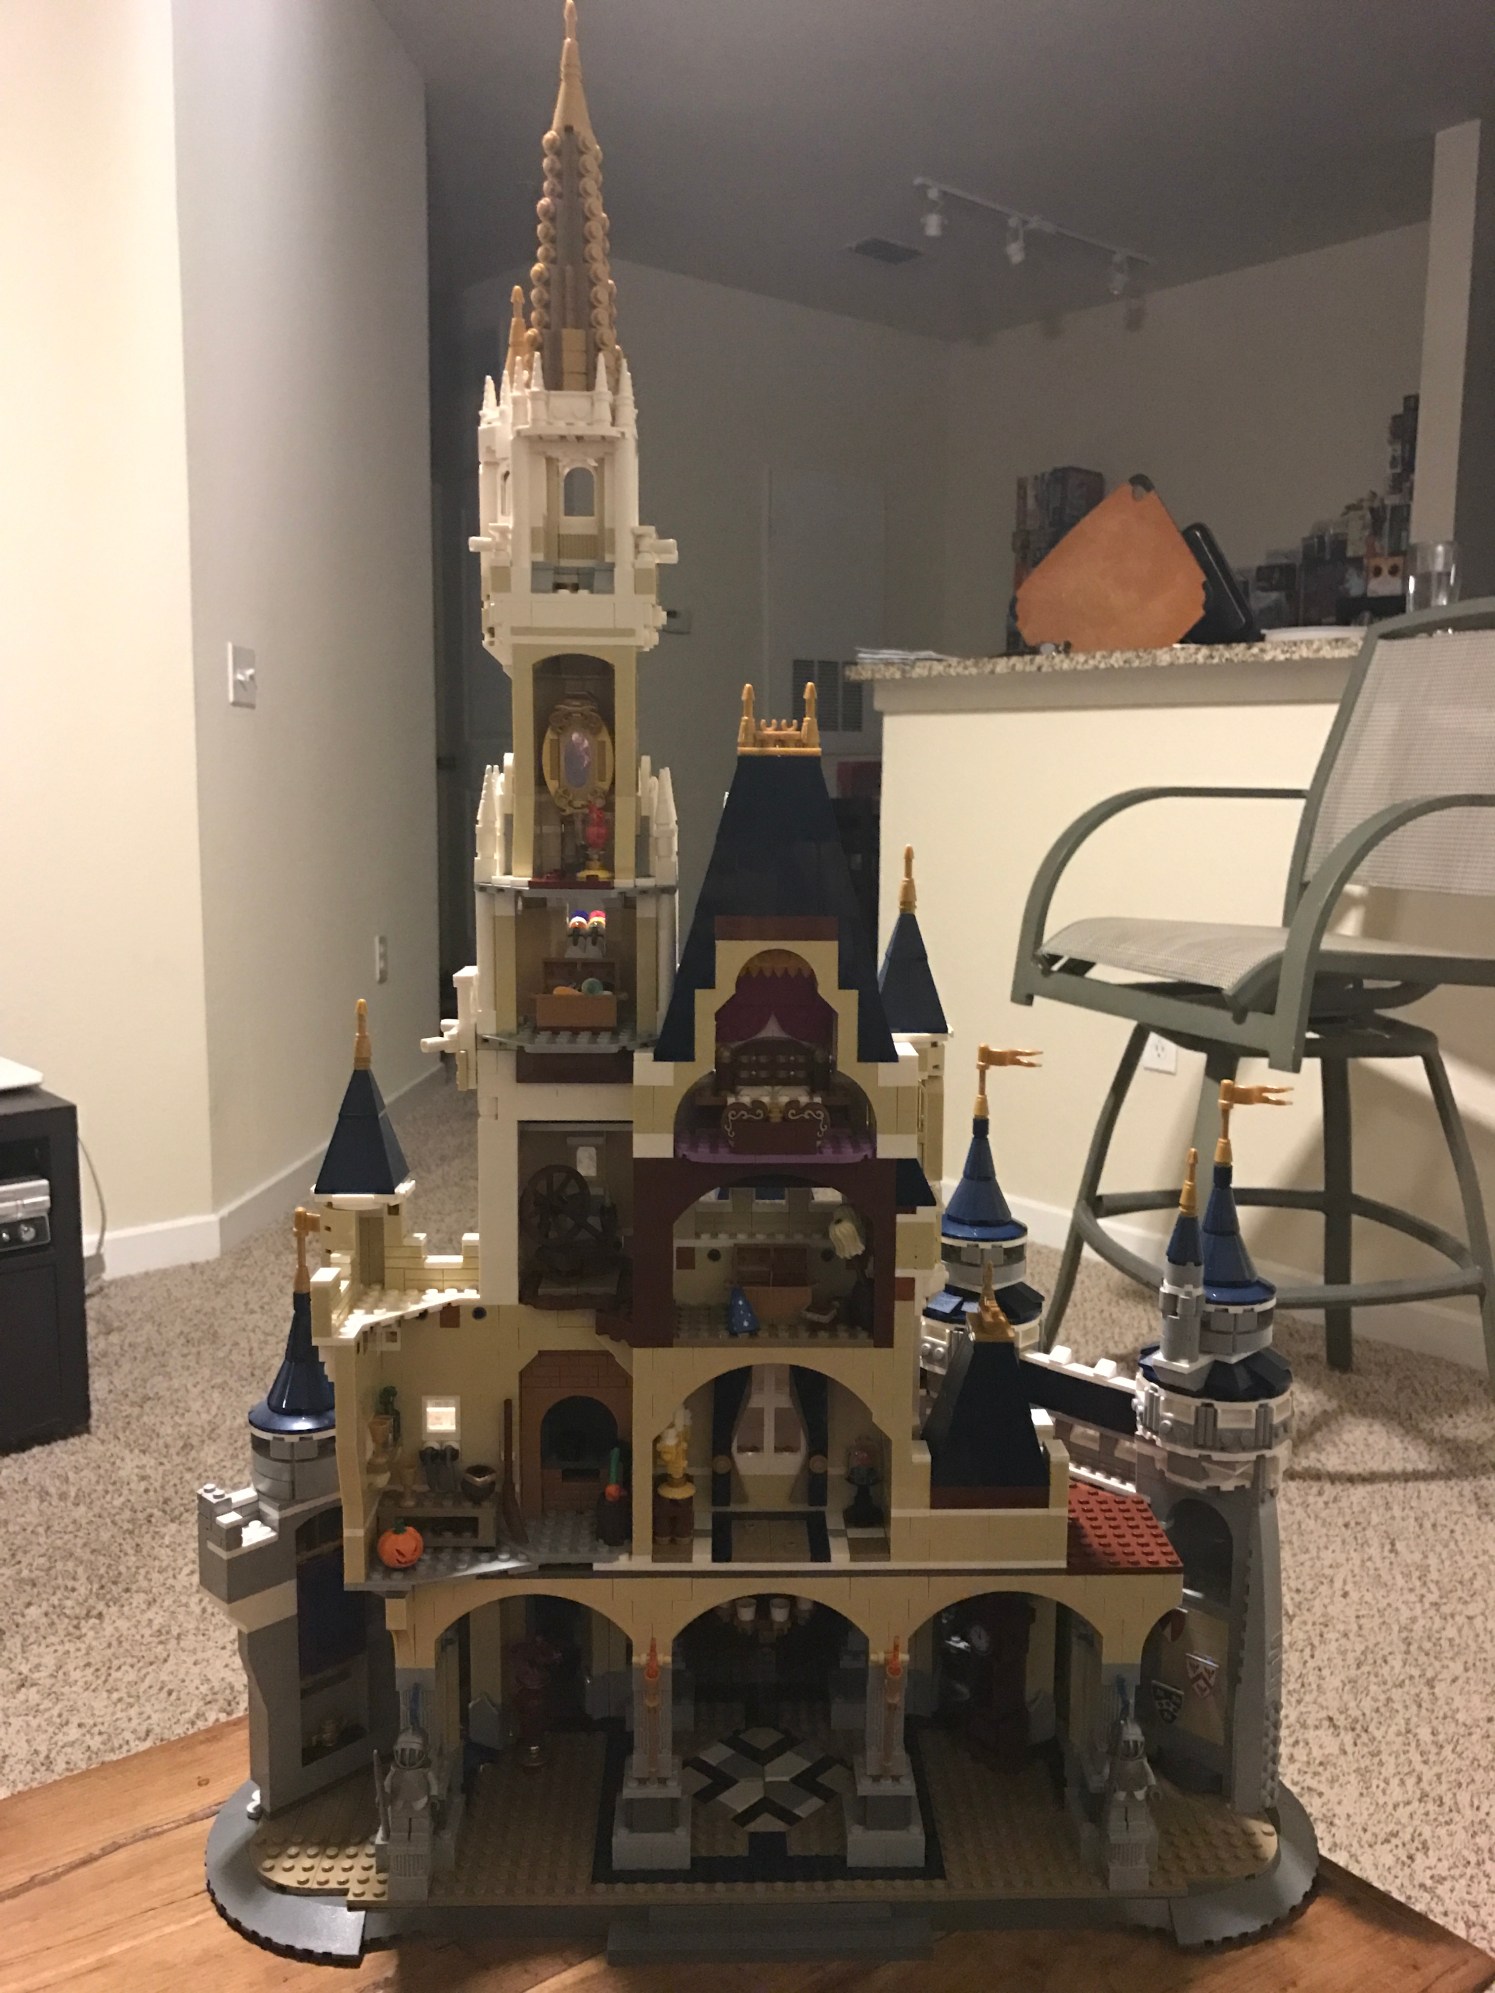
Spin it around and you’ll be able to see all the rooms inside, making this something of a deeply intricate playhouse.
If you can’t tell, I had a BLAST building this castle, and much like a good book, I found it hard to put down at the end of the night. I hope you had fun joining me in the building in it and hope that many more of you get the chance to add this one to your Disney collections!
Check out More Disney Adventures
Categories: Disney Adventures

I was able to get mine before Xmas and it took me just as long to finish mine, lol. I only took pics of the completed castle though, but Beast’s castle is sitting right next to it 🙂
Oh wow! I must buy this!
Wow, impressive! Thanks for documenting it!
wow!!!!
I LOVE it. Thanks for sharing.
I couldn’t keep Carpet on the wall. I affixed him to the tower by his tassels and plopped the Aladdin figure from the Disney minifig packs on him. I also added a micro-LED set to add a little flair for the holidays. My kid and I have done a number of these large sets over the past few years, but this is definitely a highlight.
I love that the suite is in there, too!!!